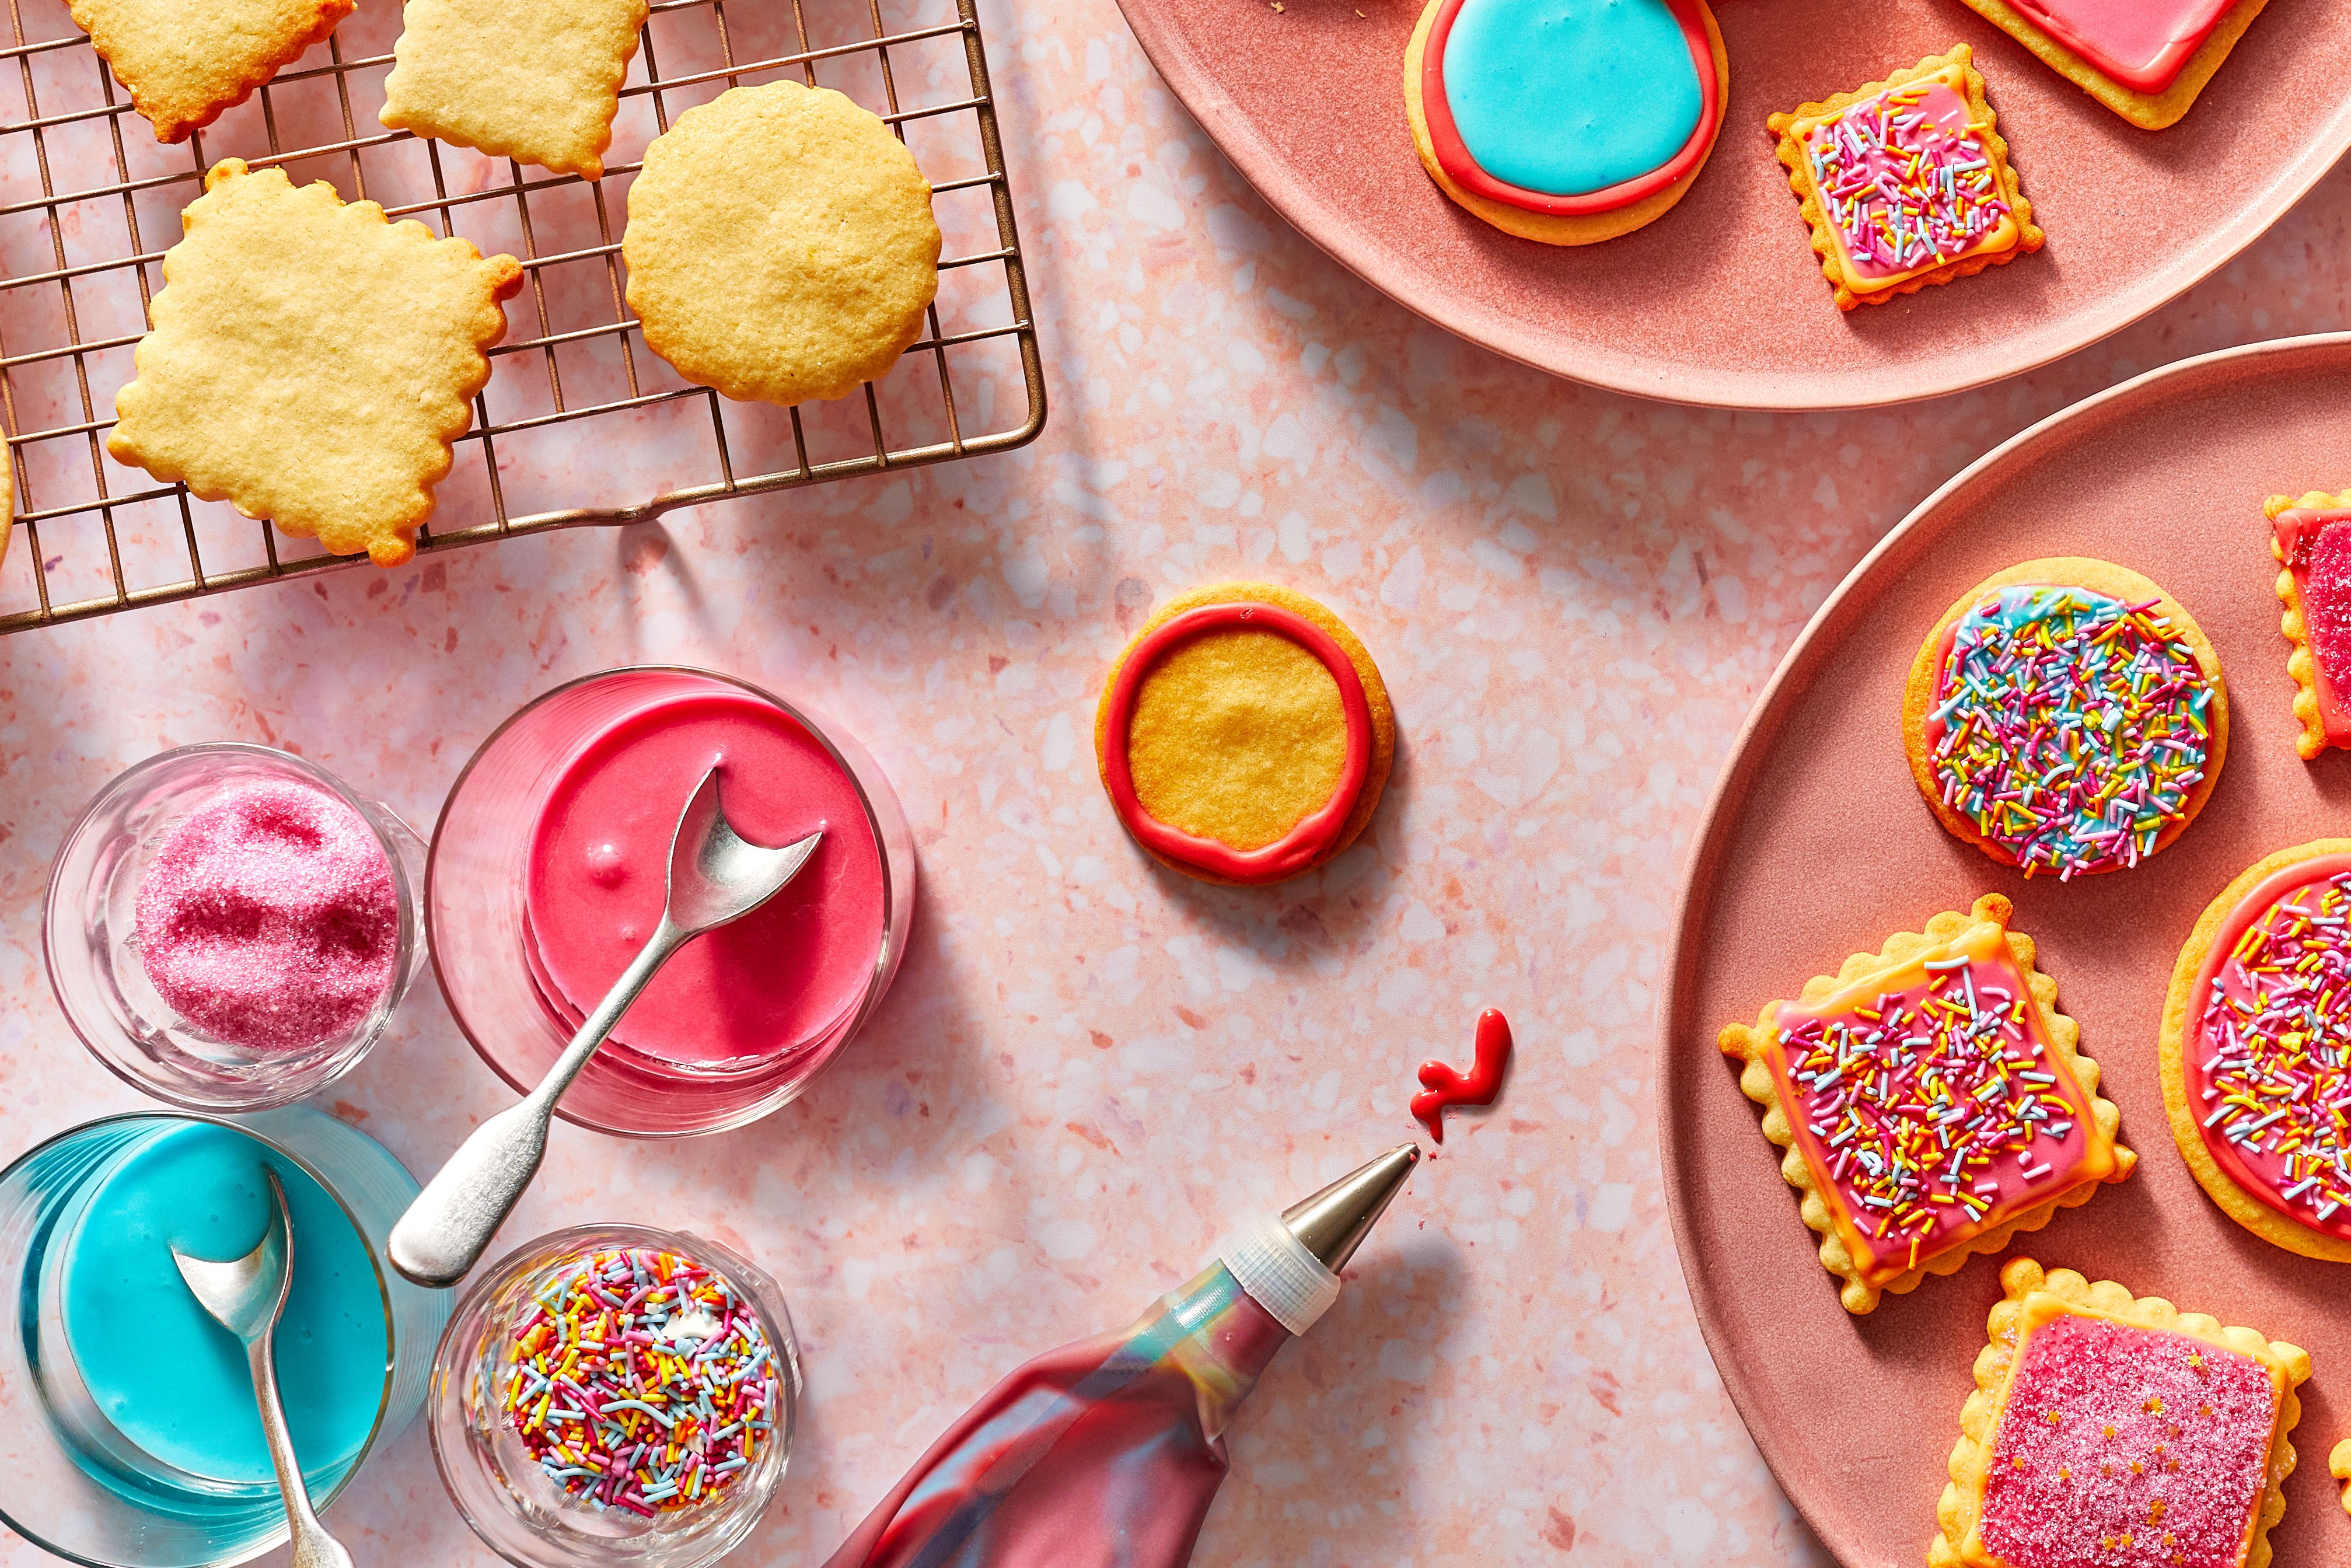
Let's make some cookie art.
| |
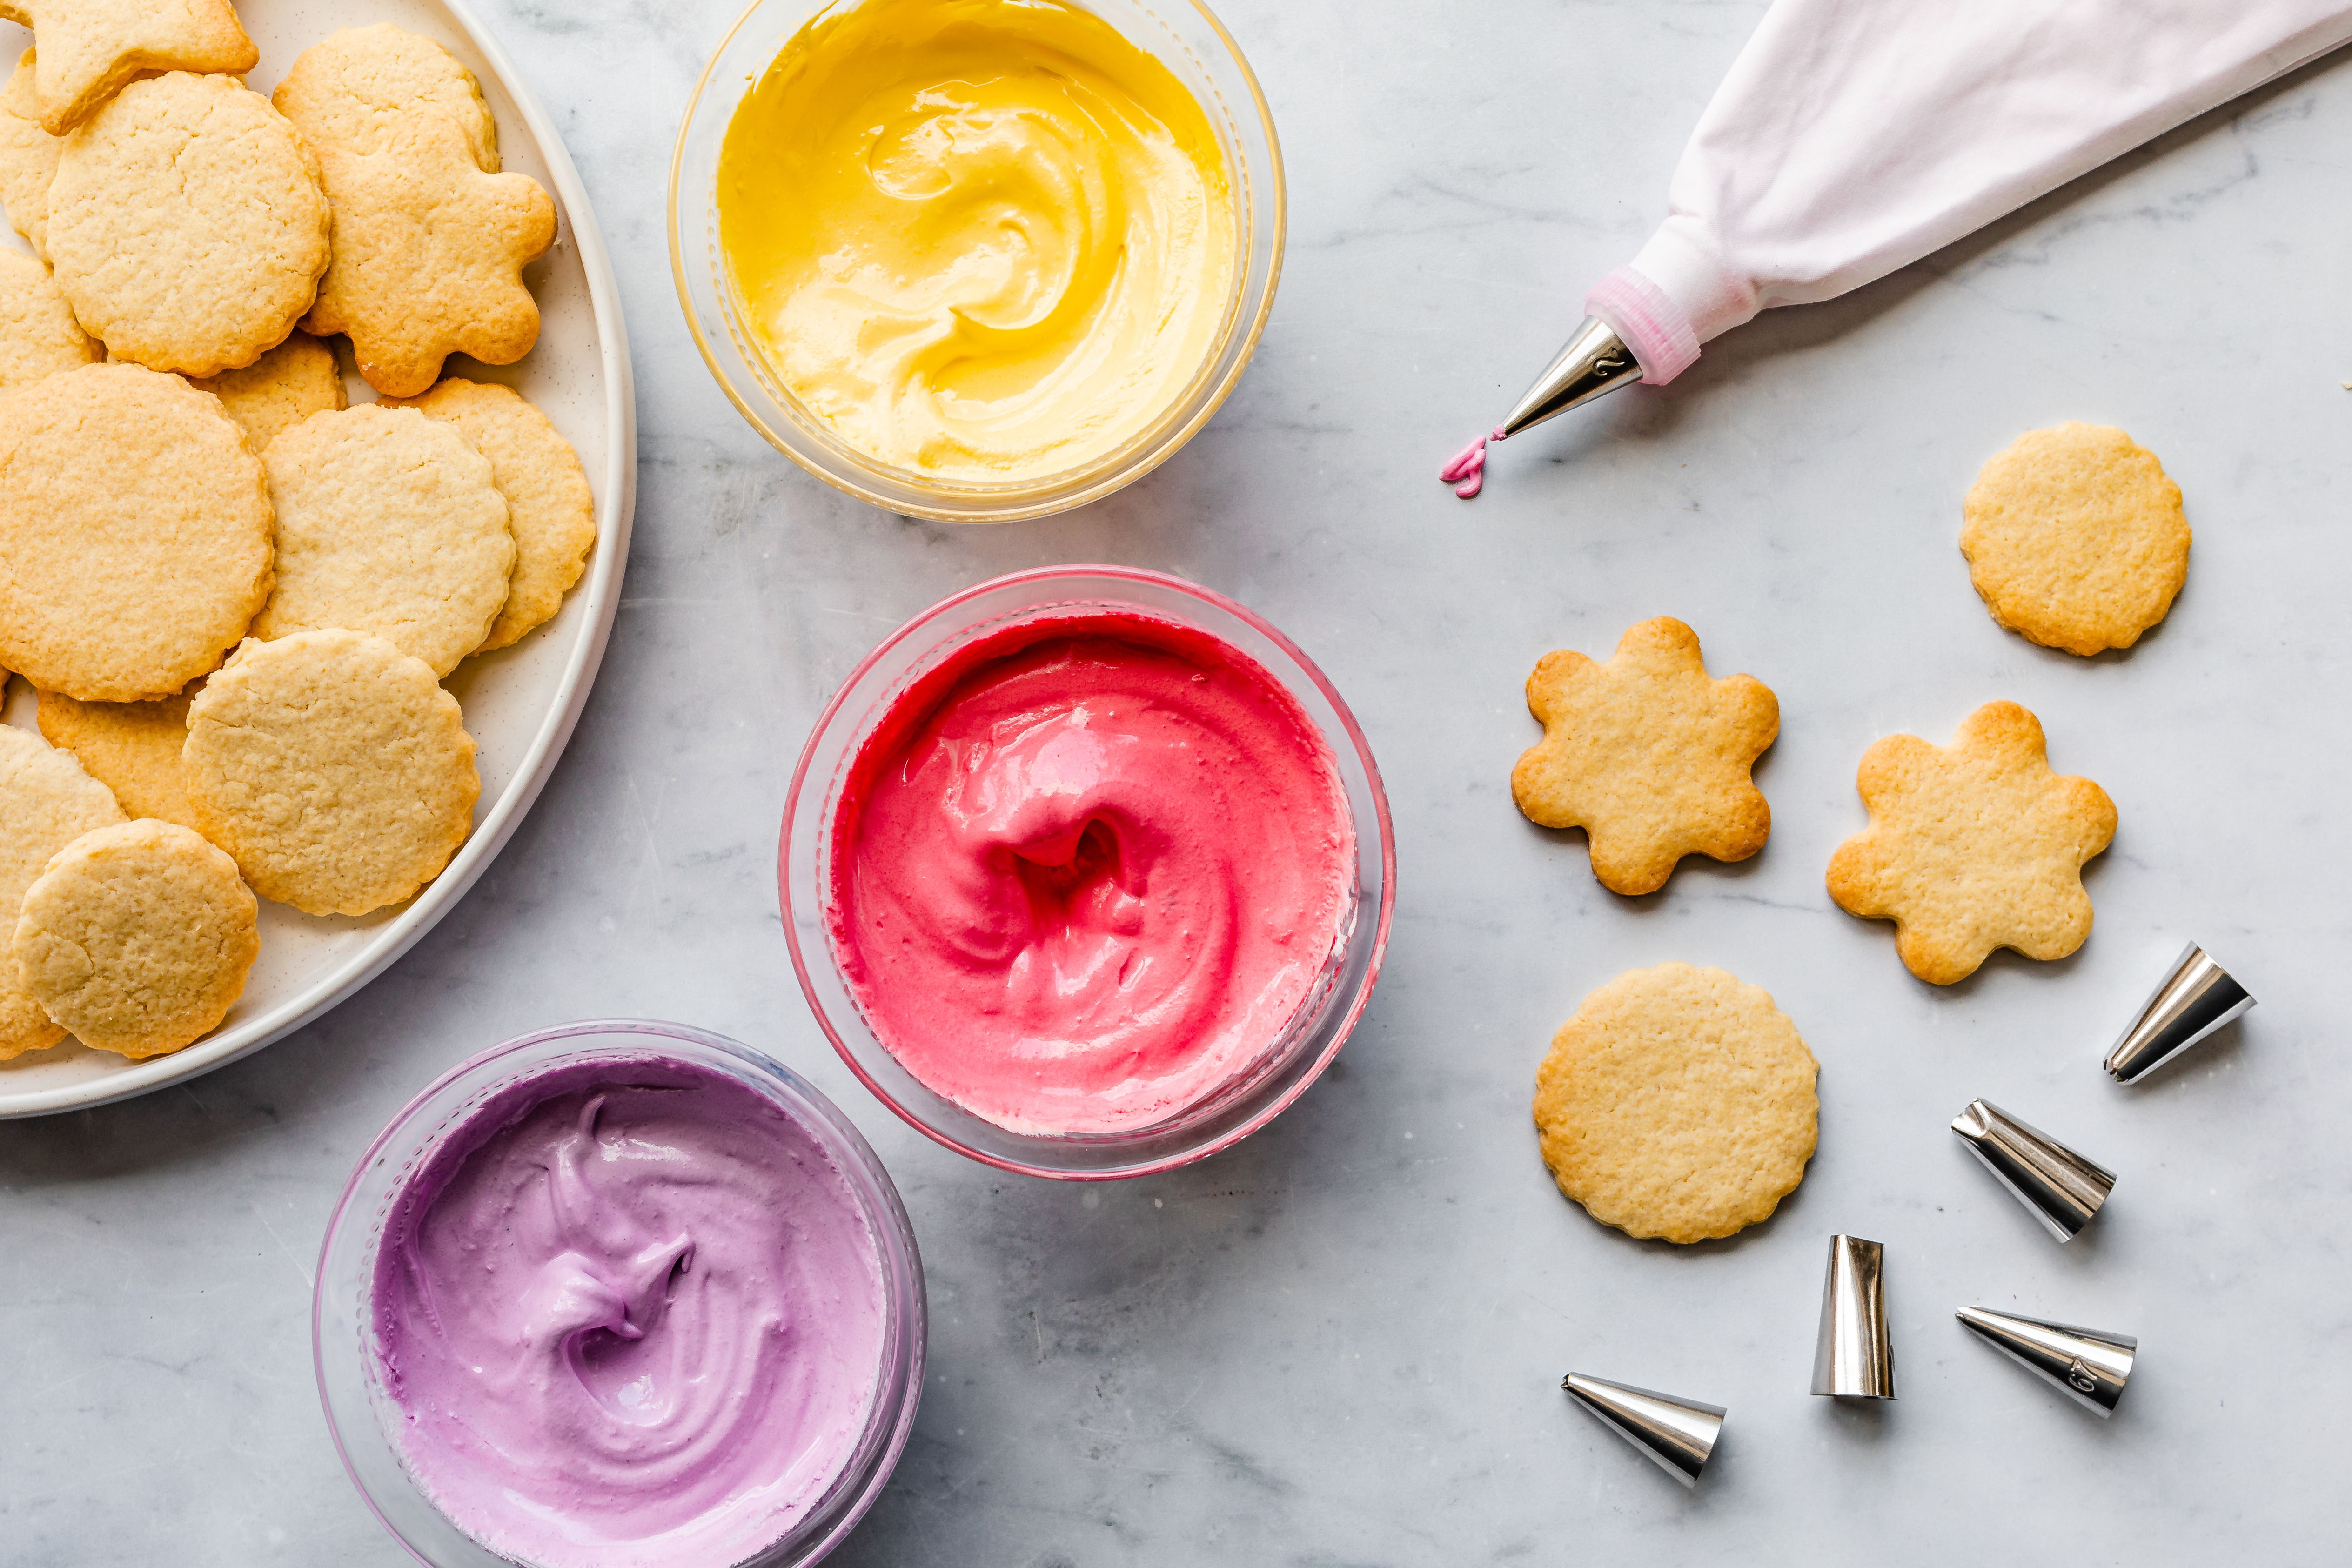
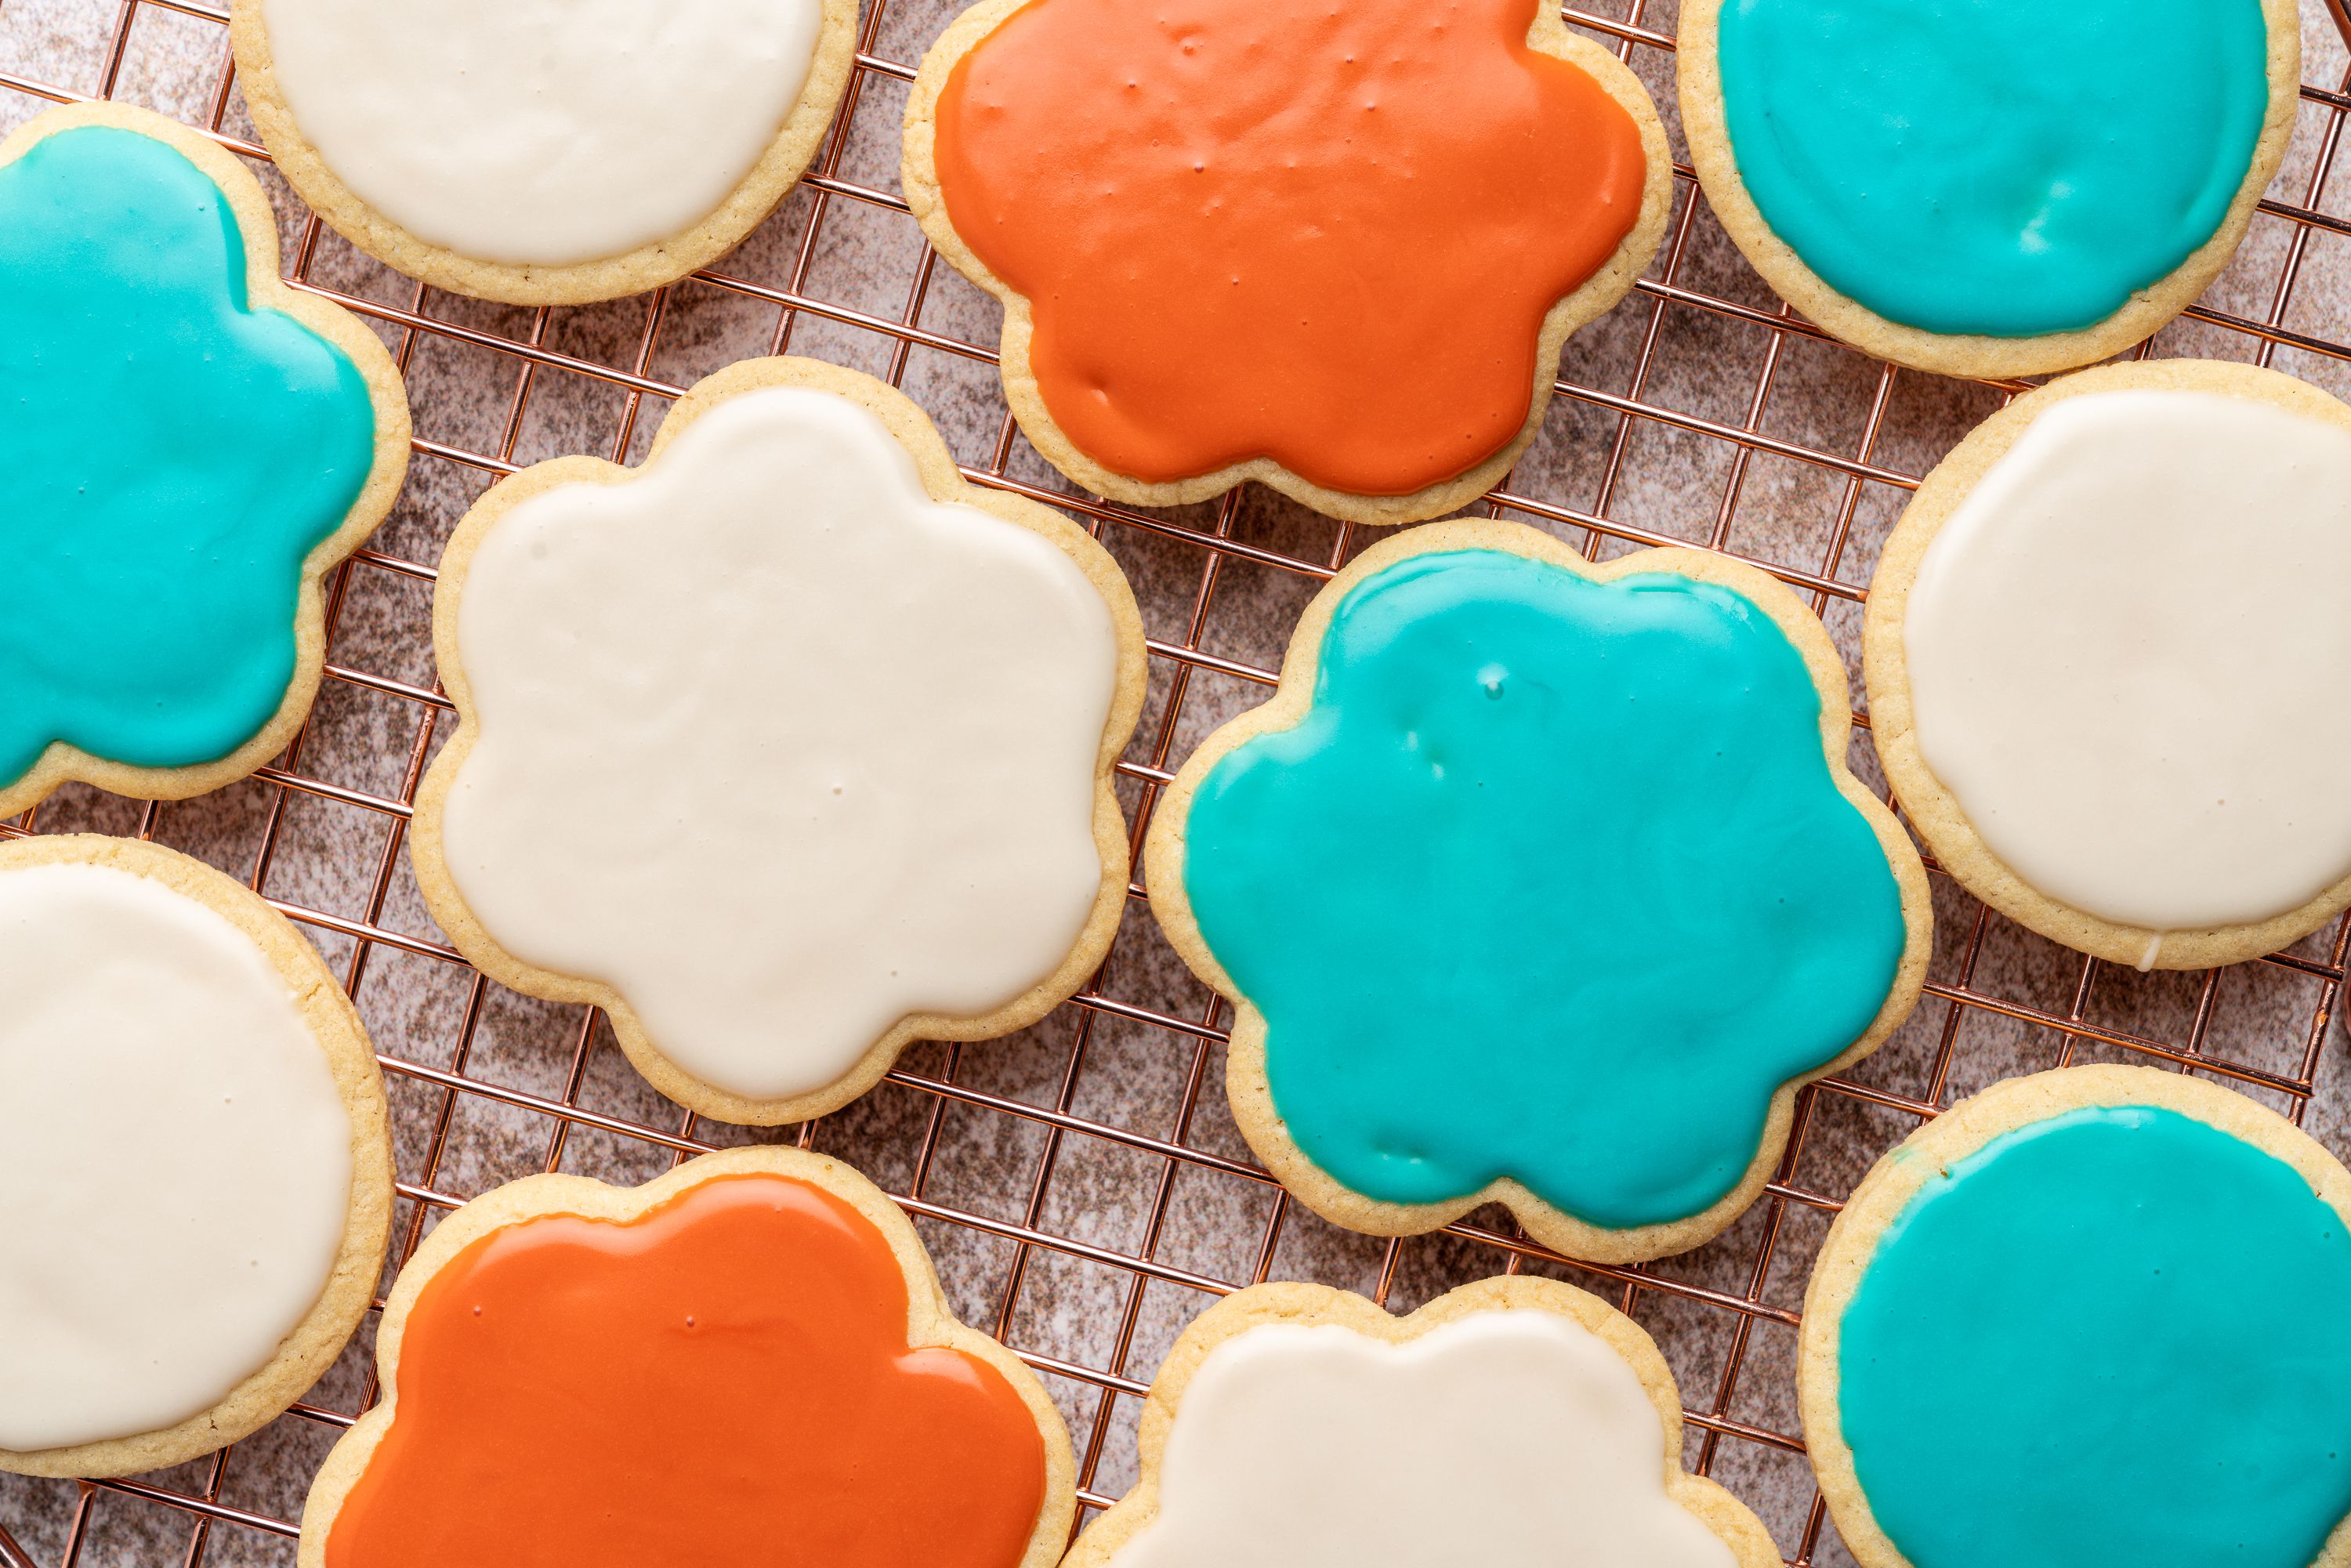
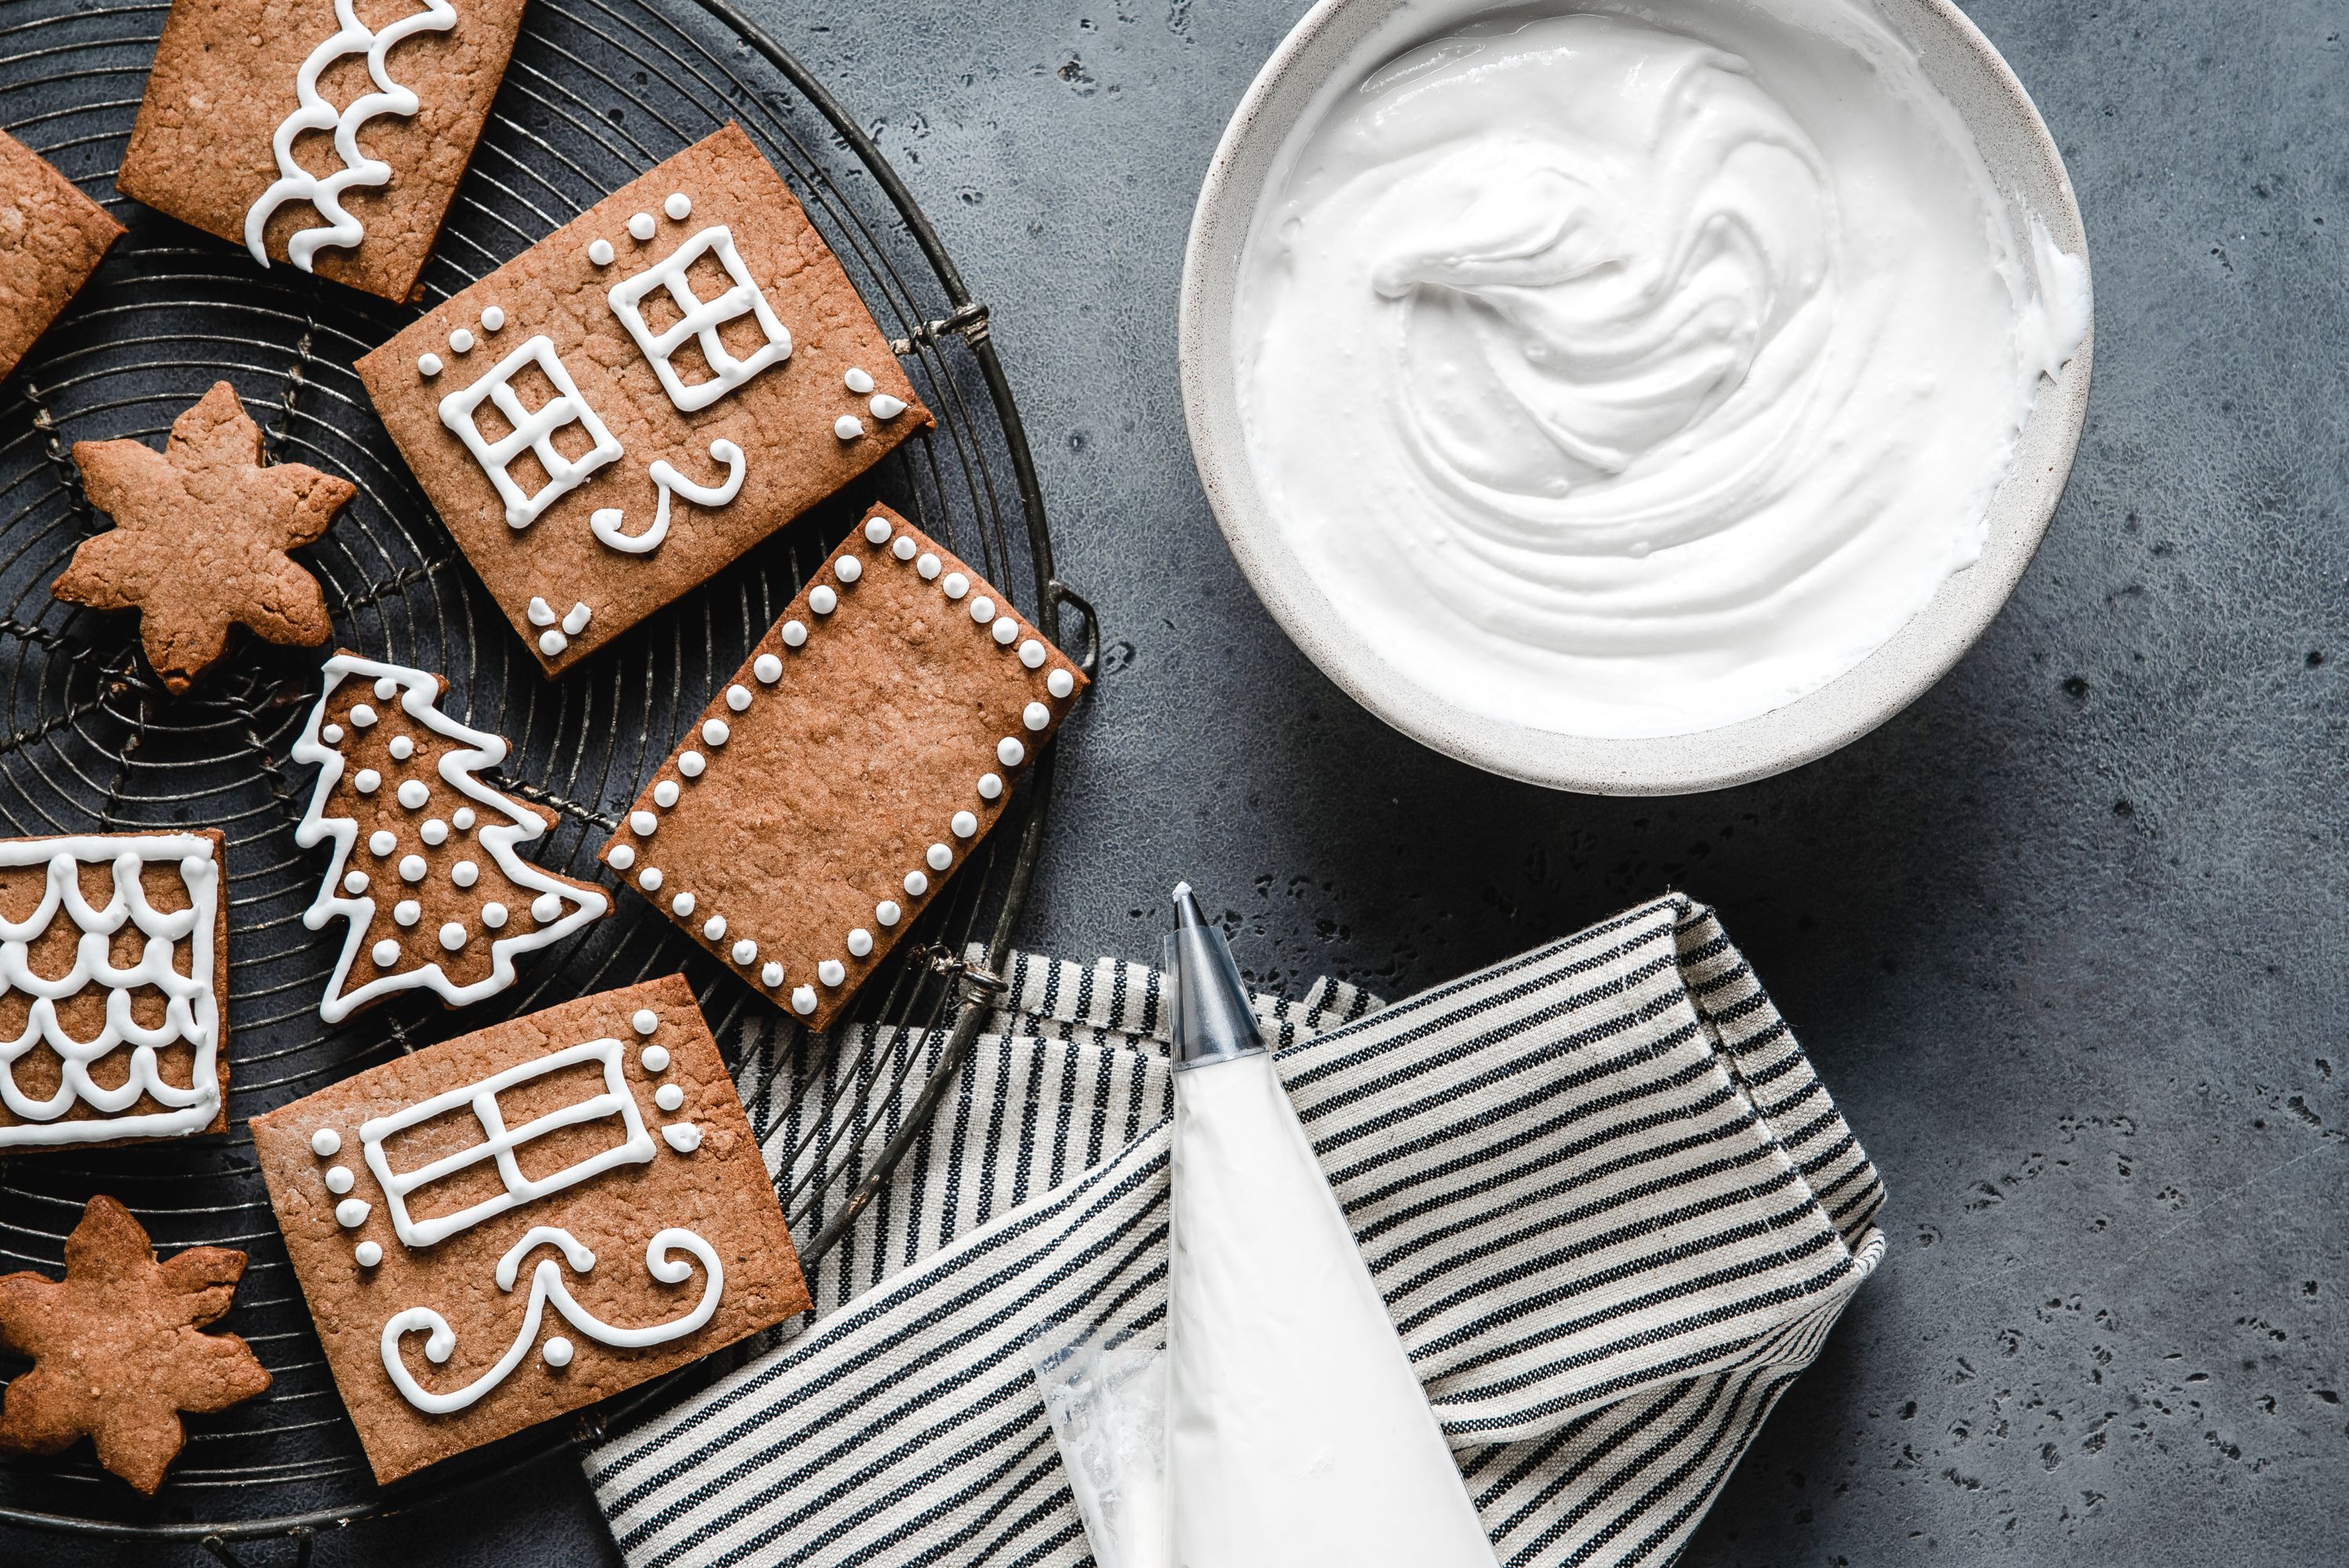
 | | Week 4: The Basics of Cookie Decorating | | Have you ever seen a cookie so beautifully decorated that you almost feel guilty eating it? A cookie's canvas may be tiny compared to that of a cake, for example. But with some skill and creativity, their decorations can be just as spectacular. | | You know by now that the best kind of cookies for decorating are sturdy ones like sugar cookies and gingerbread cookies. The most common ways to decorate them are with glaze, frosting, or royal icing. Today, we'll be focusing our attention on royal icing. | | One of the most important things to remember is that your cookies should be completely cooled before you start decorating. The last thing you want is icing melting off your cookies. | | To get started, you'll need either squeeze bottles or piping bags—at least two of whichever you decide to go with. You'll be making two icings with different consistencies: a thicker one to create your edges which is known as "piping", and a thinner one to "flood" larger surfaces of your cookie. The only difference between the two icings is the amount of water you use. | | Pro tip: sift your powdered sugar before you mix your ingredients to prevent lumps in your icing that could clog up your bottles and bags. | | If you're layering decorations, wait for the first to dry before you add another layer. That prevents colors from bleeding into each other. Unless that's what you're going for, of course. | | When it comes to decorated cookies, the best kinds taste just as good as they look. And we think our royal icing recipe is super tasty (and simple). So let's put some festive music on, gather our ingredients, and steal our favorite person to be around for some cookie decorating fun. Don't forget to tag us in your creations on Instagram! | | Next week: baking vegan and gluten-free cookies. Right now, some cookie art. | | | | | | | | | | Ingredients and Royal Icing Recipe | |
 | - 1/2 cup pasteurized liquid egg whites (4 large egg whites)
- 4 cups powdered sugar (1 pound)
- 1 teaspoon lemon juice
- Food coloring in desired colors, optional
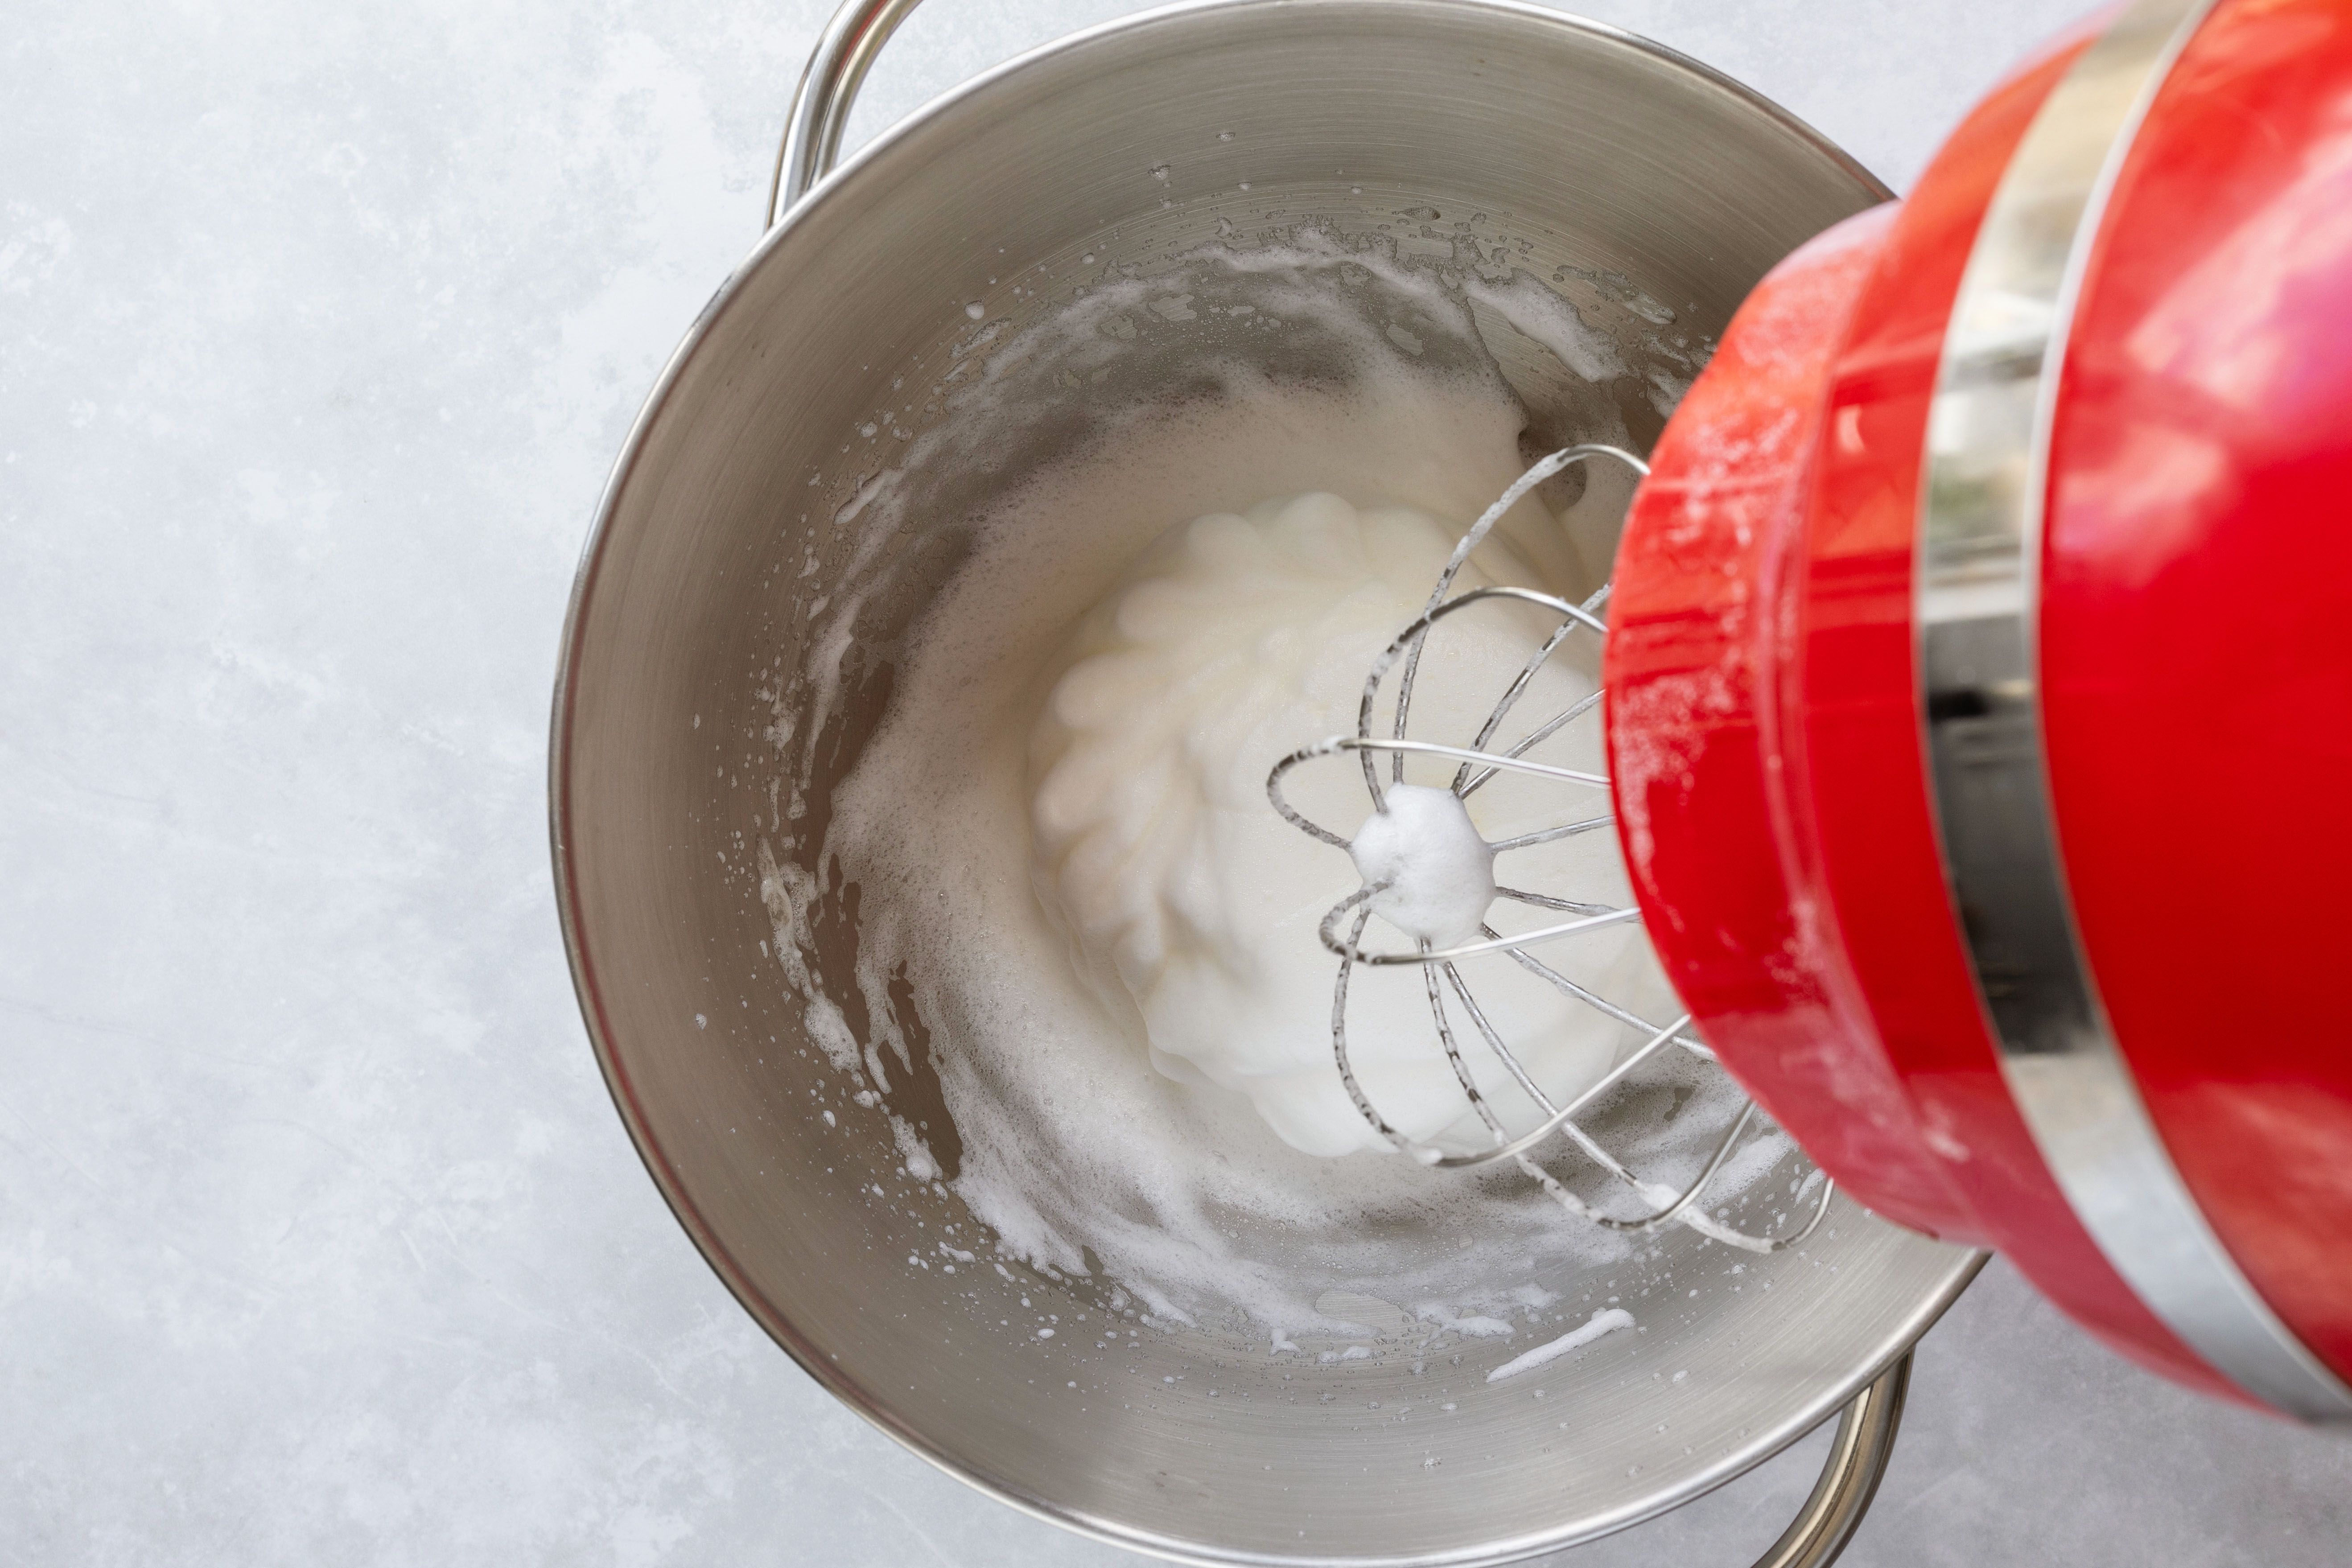
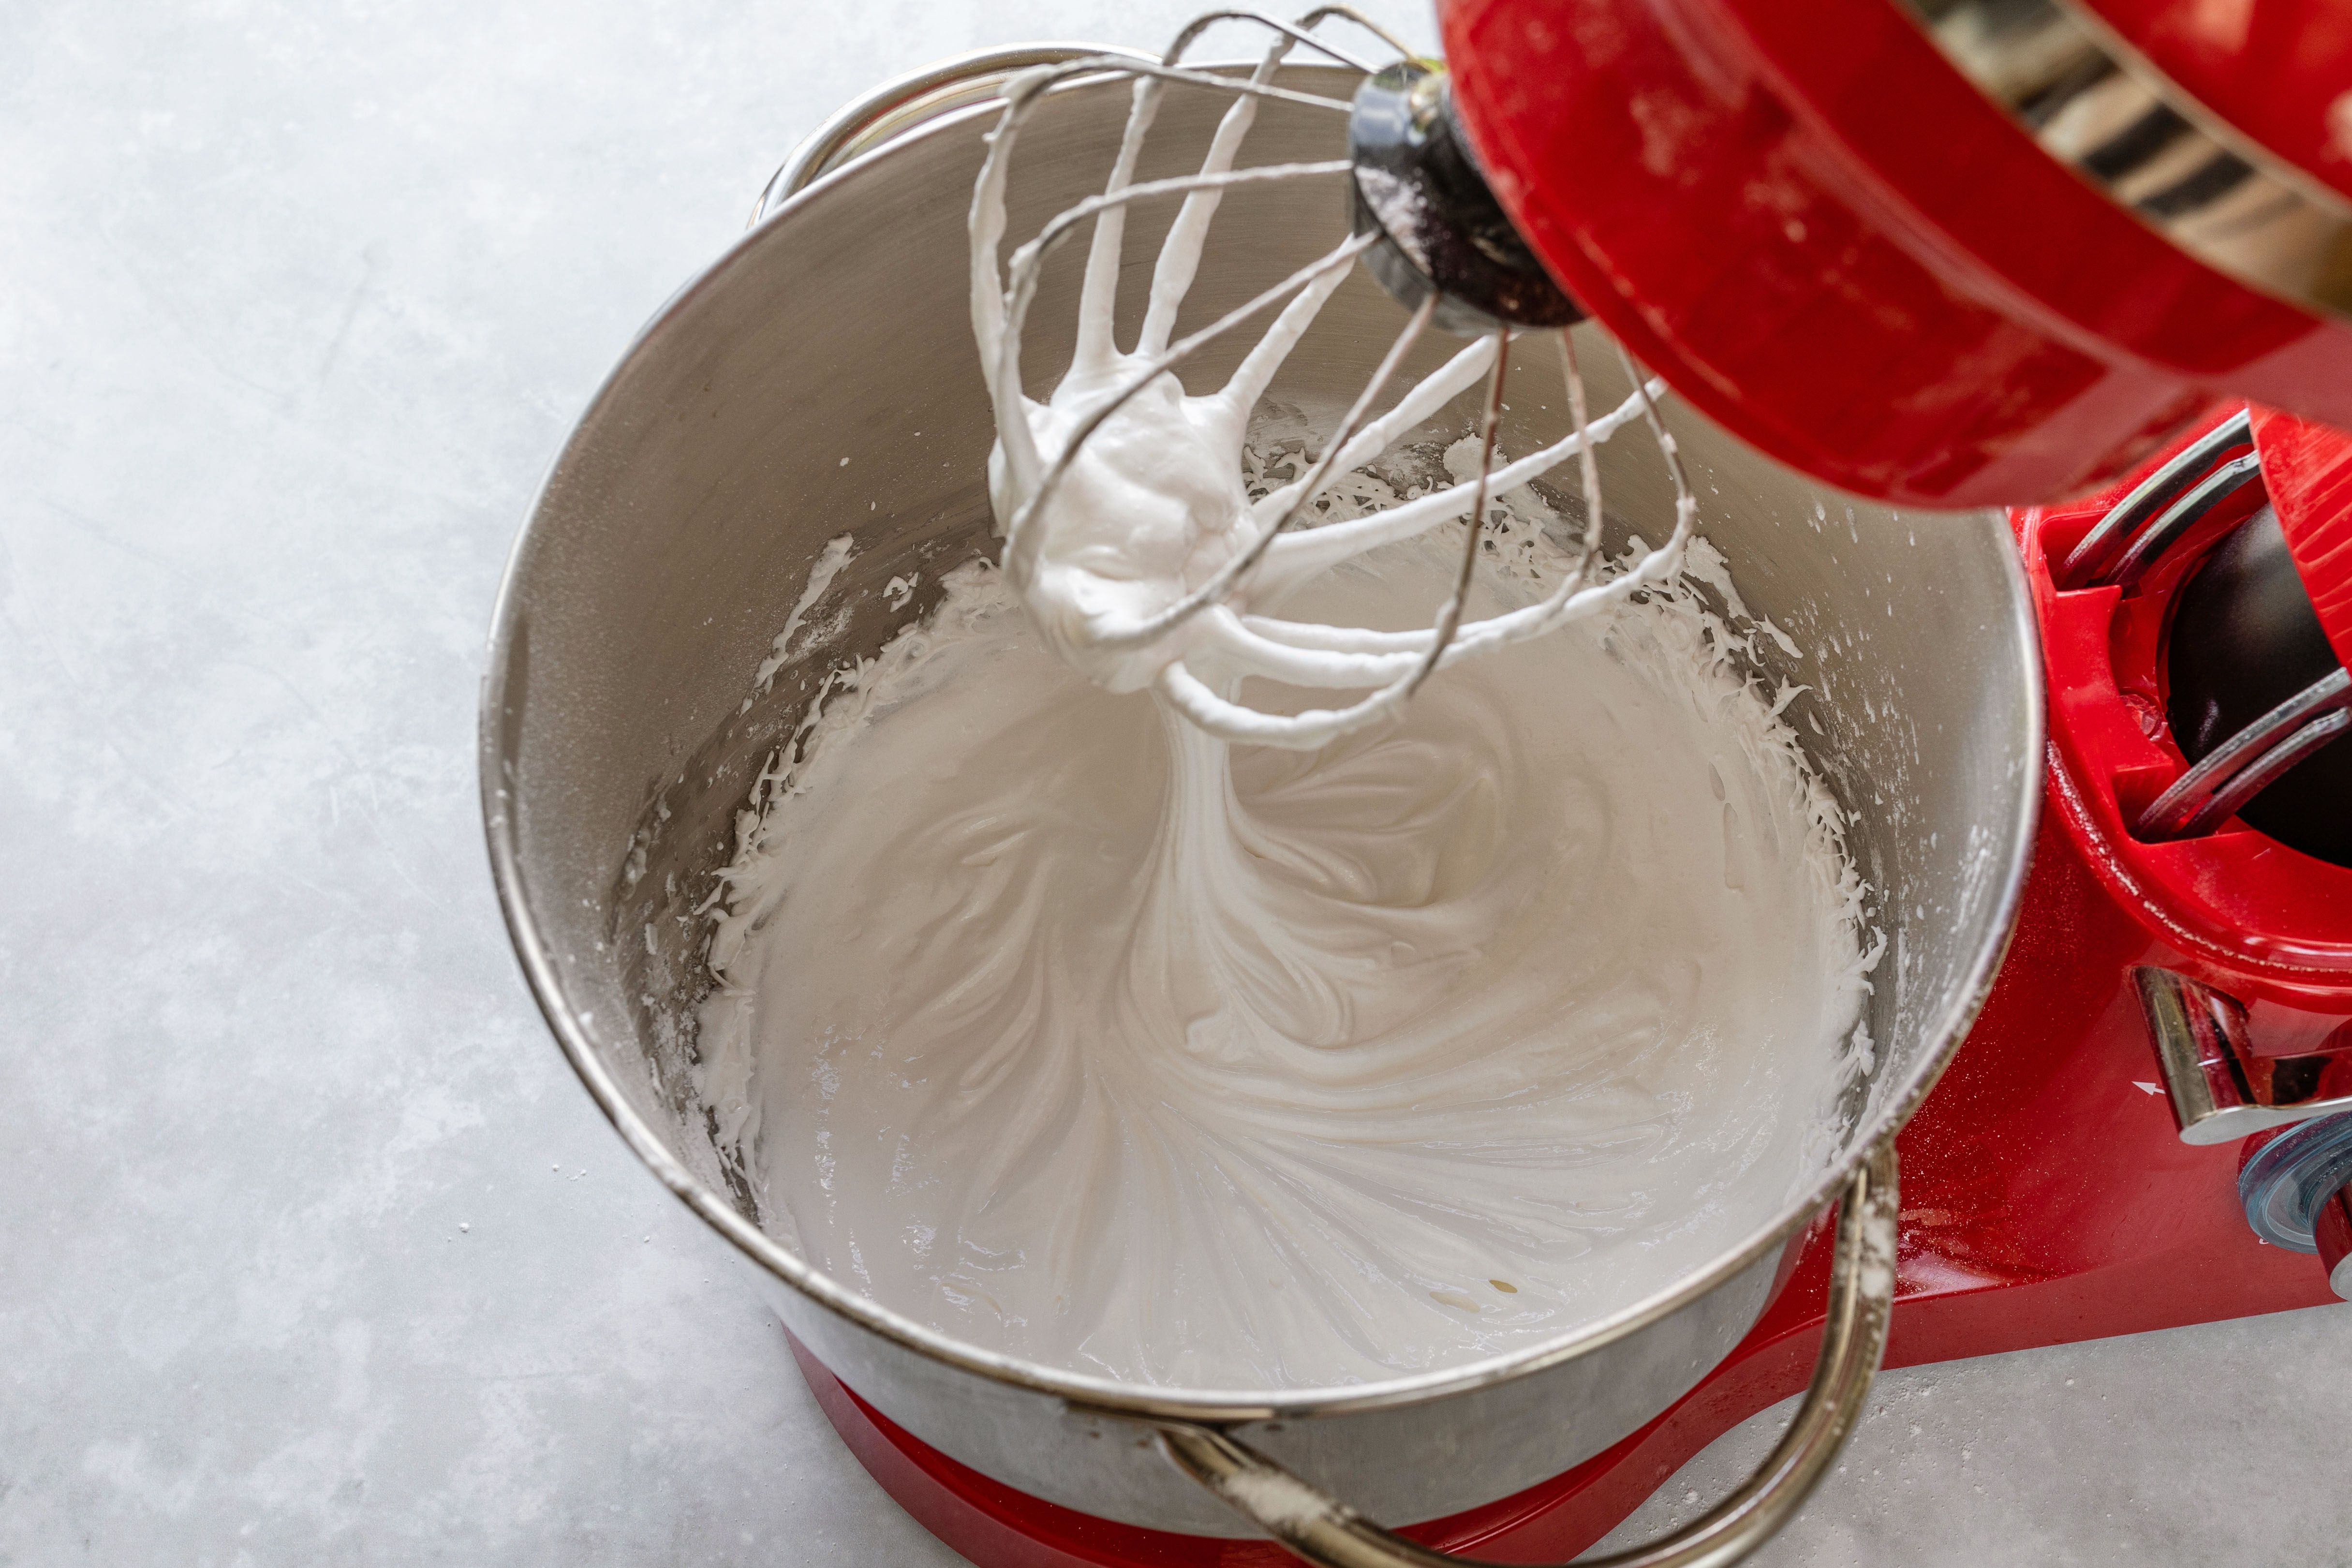
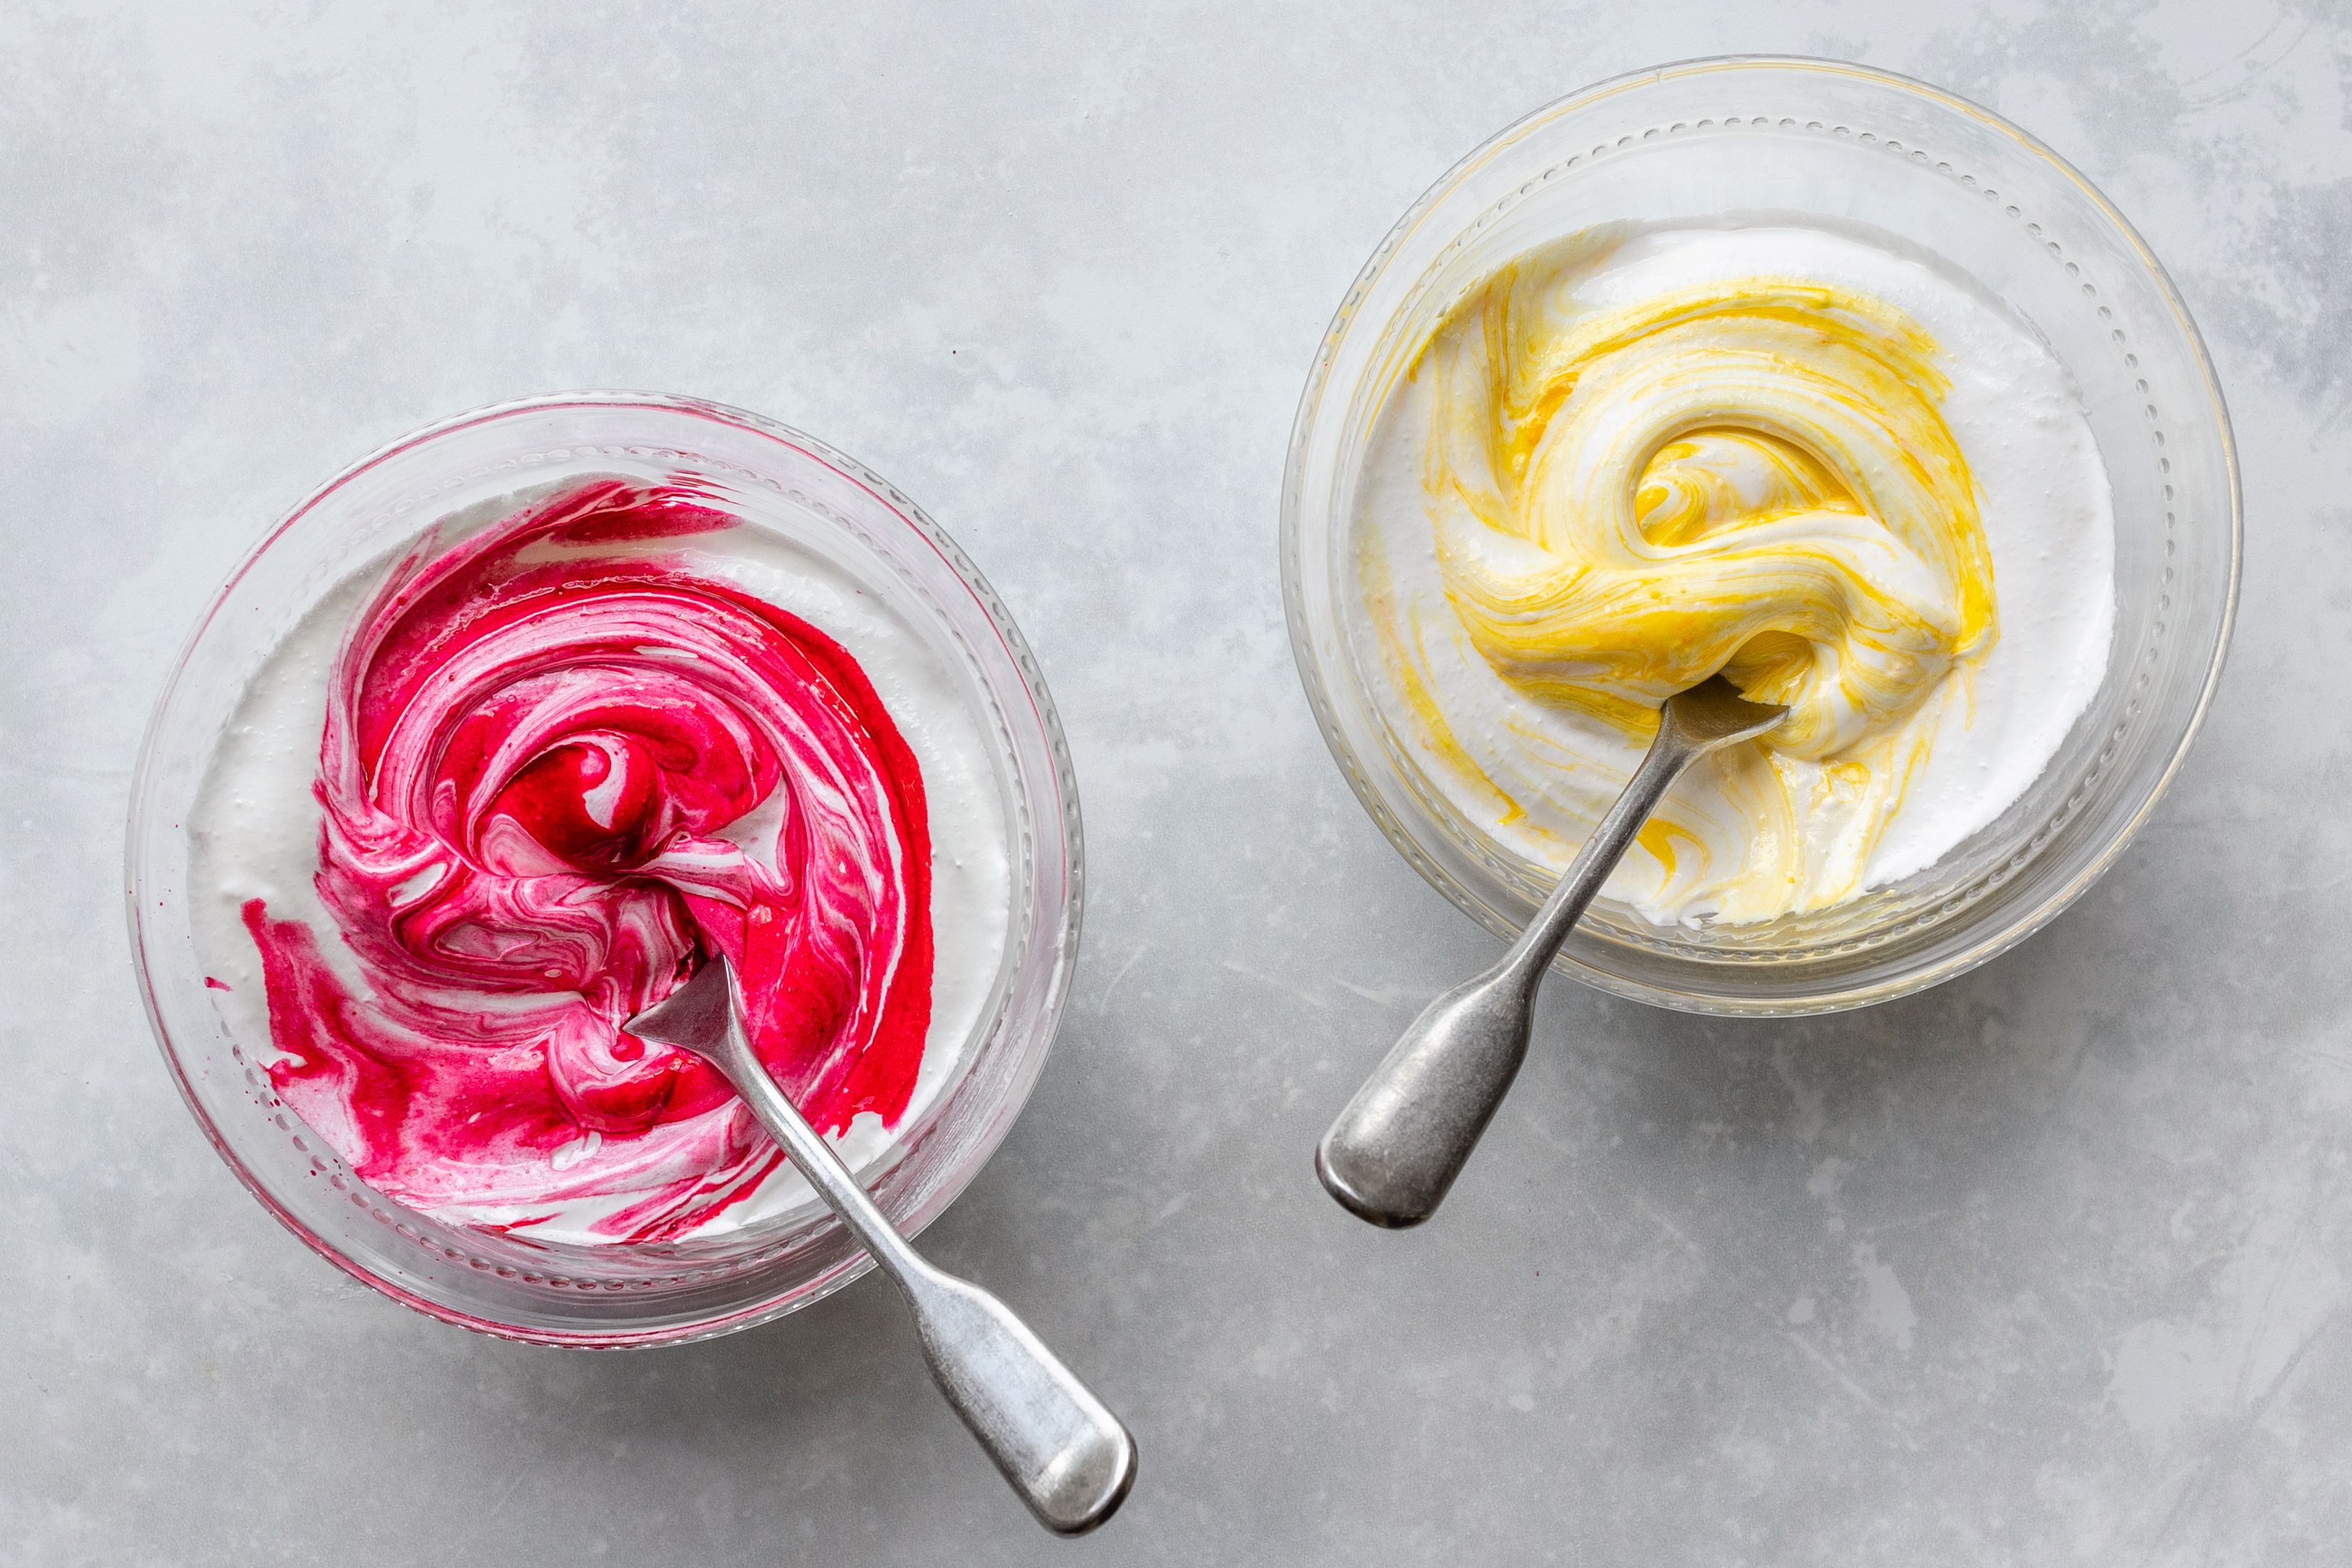
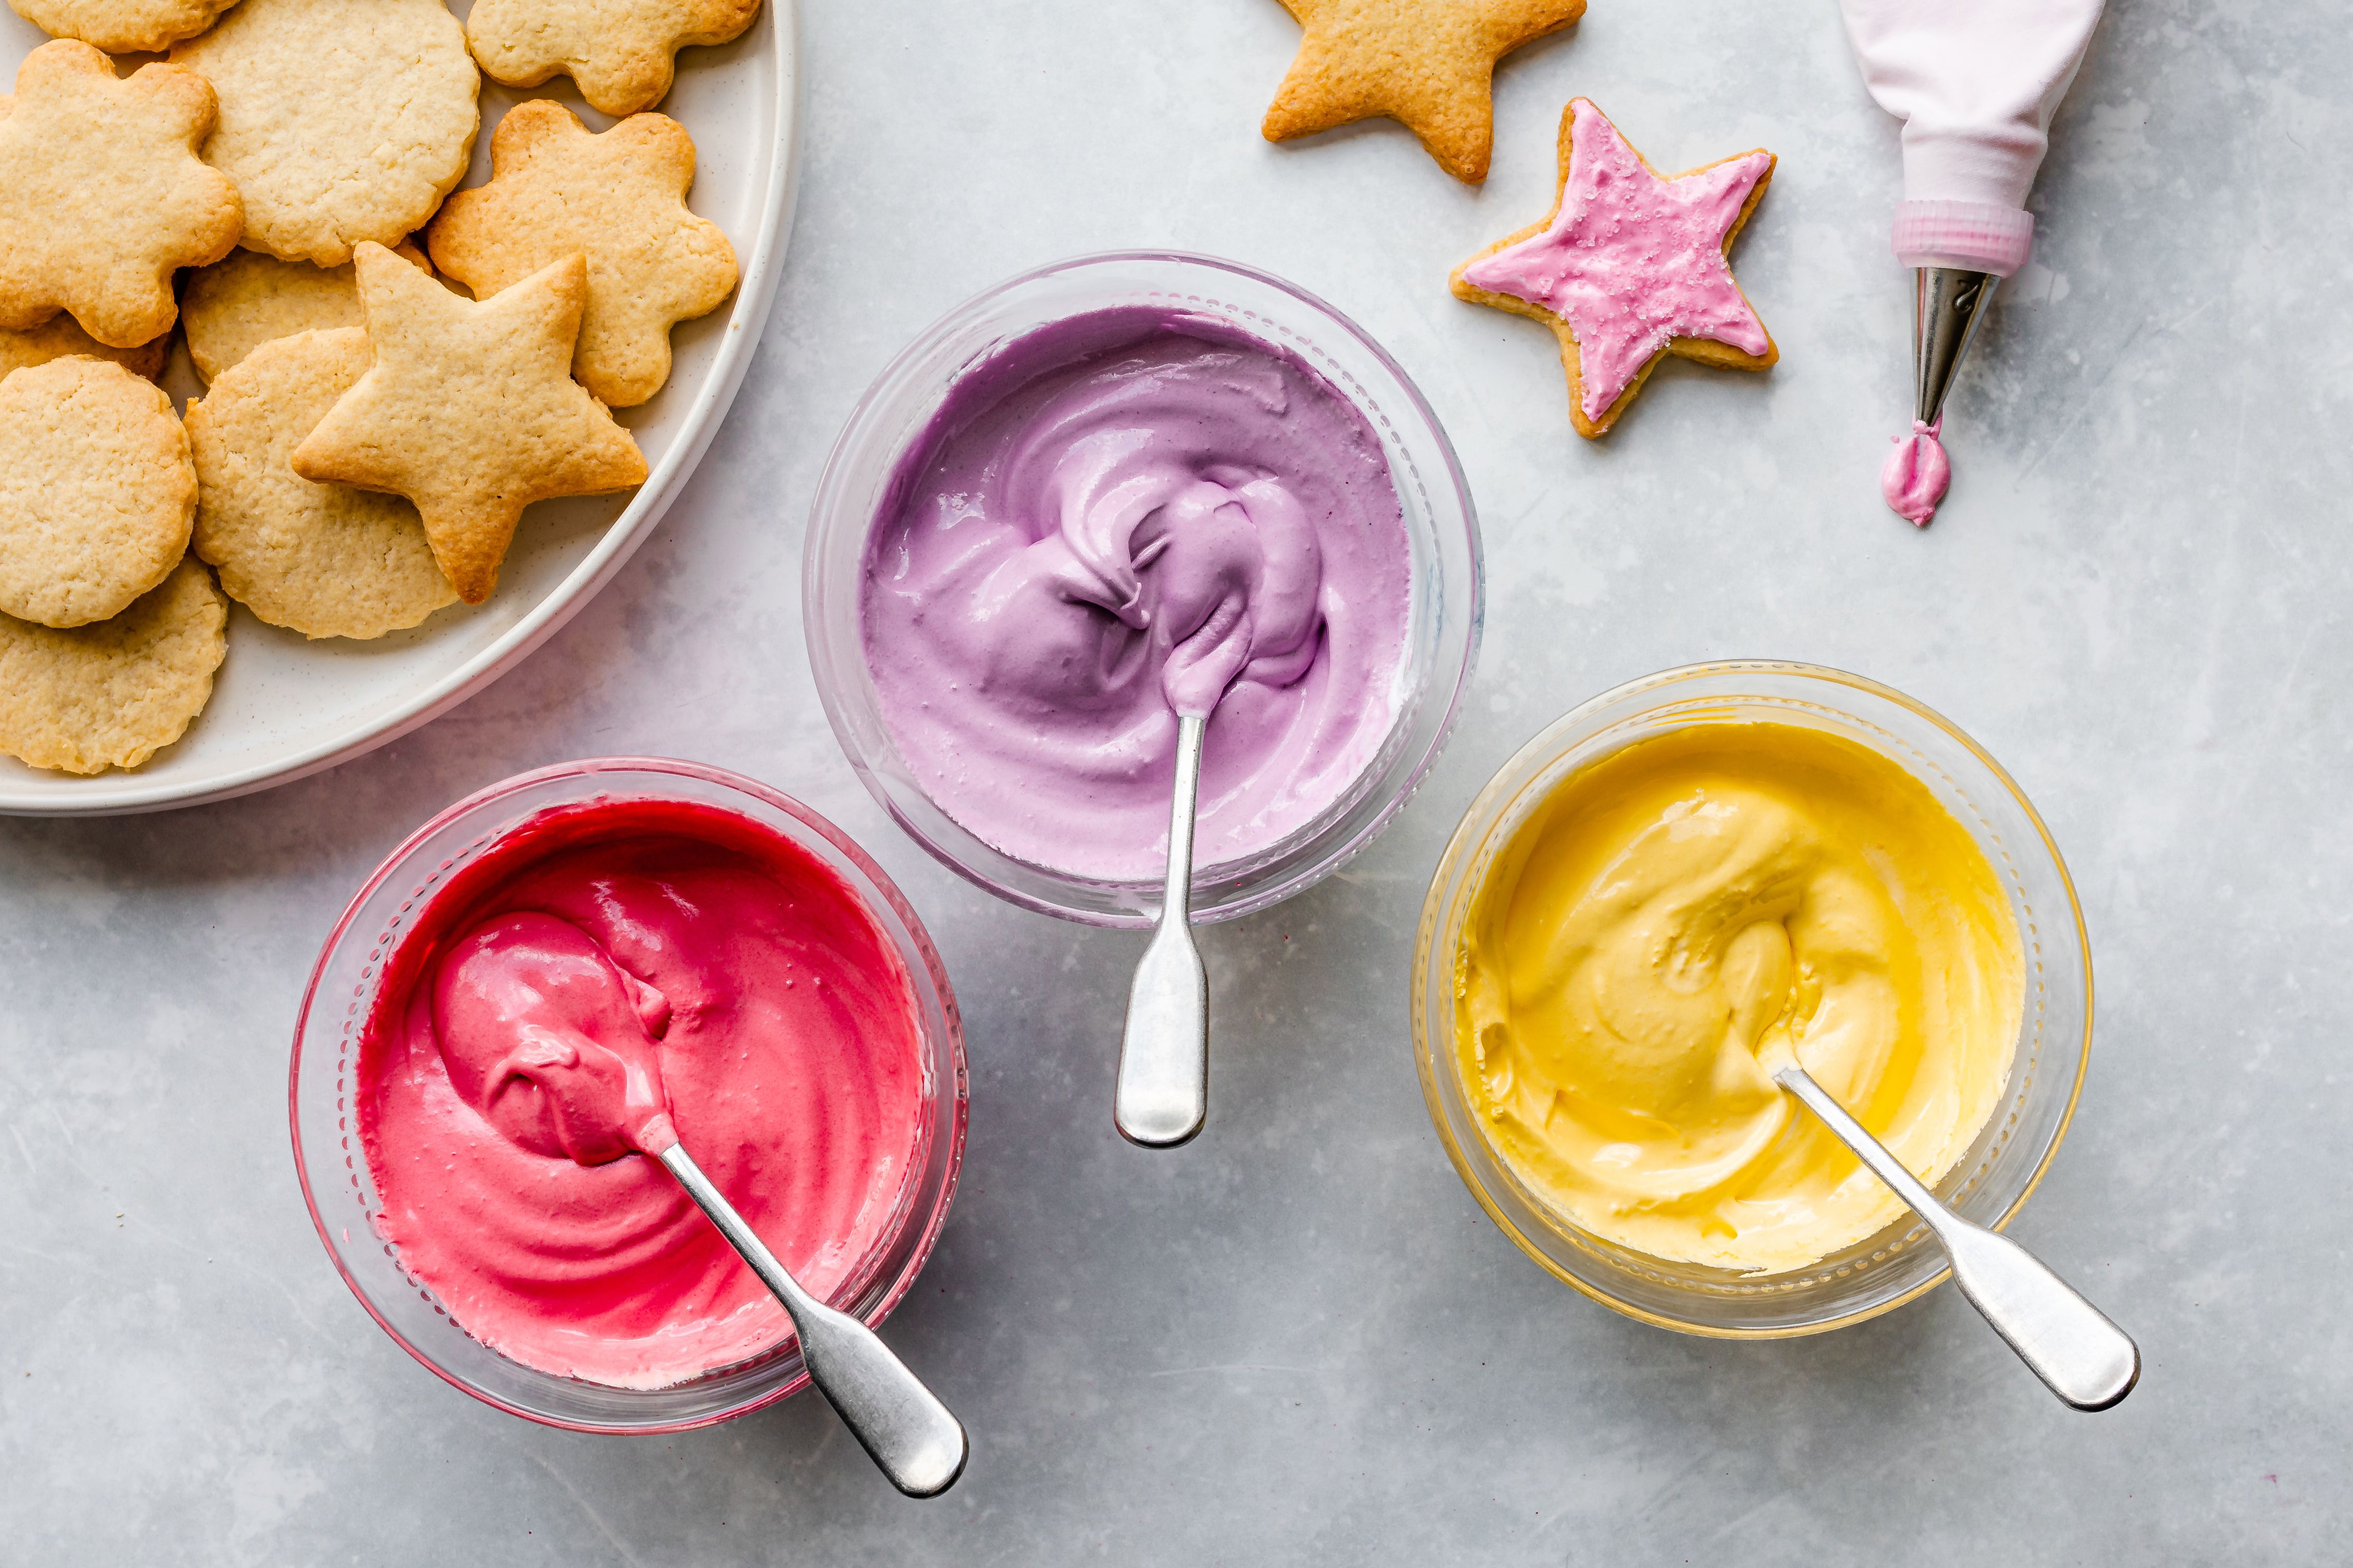
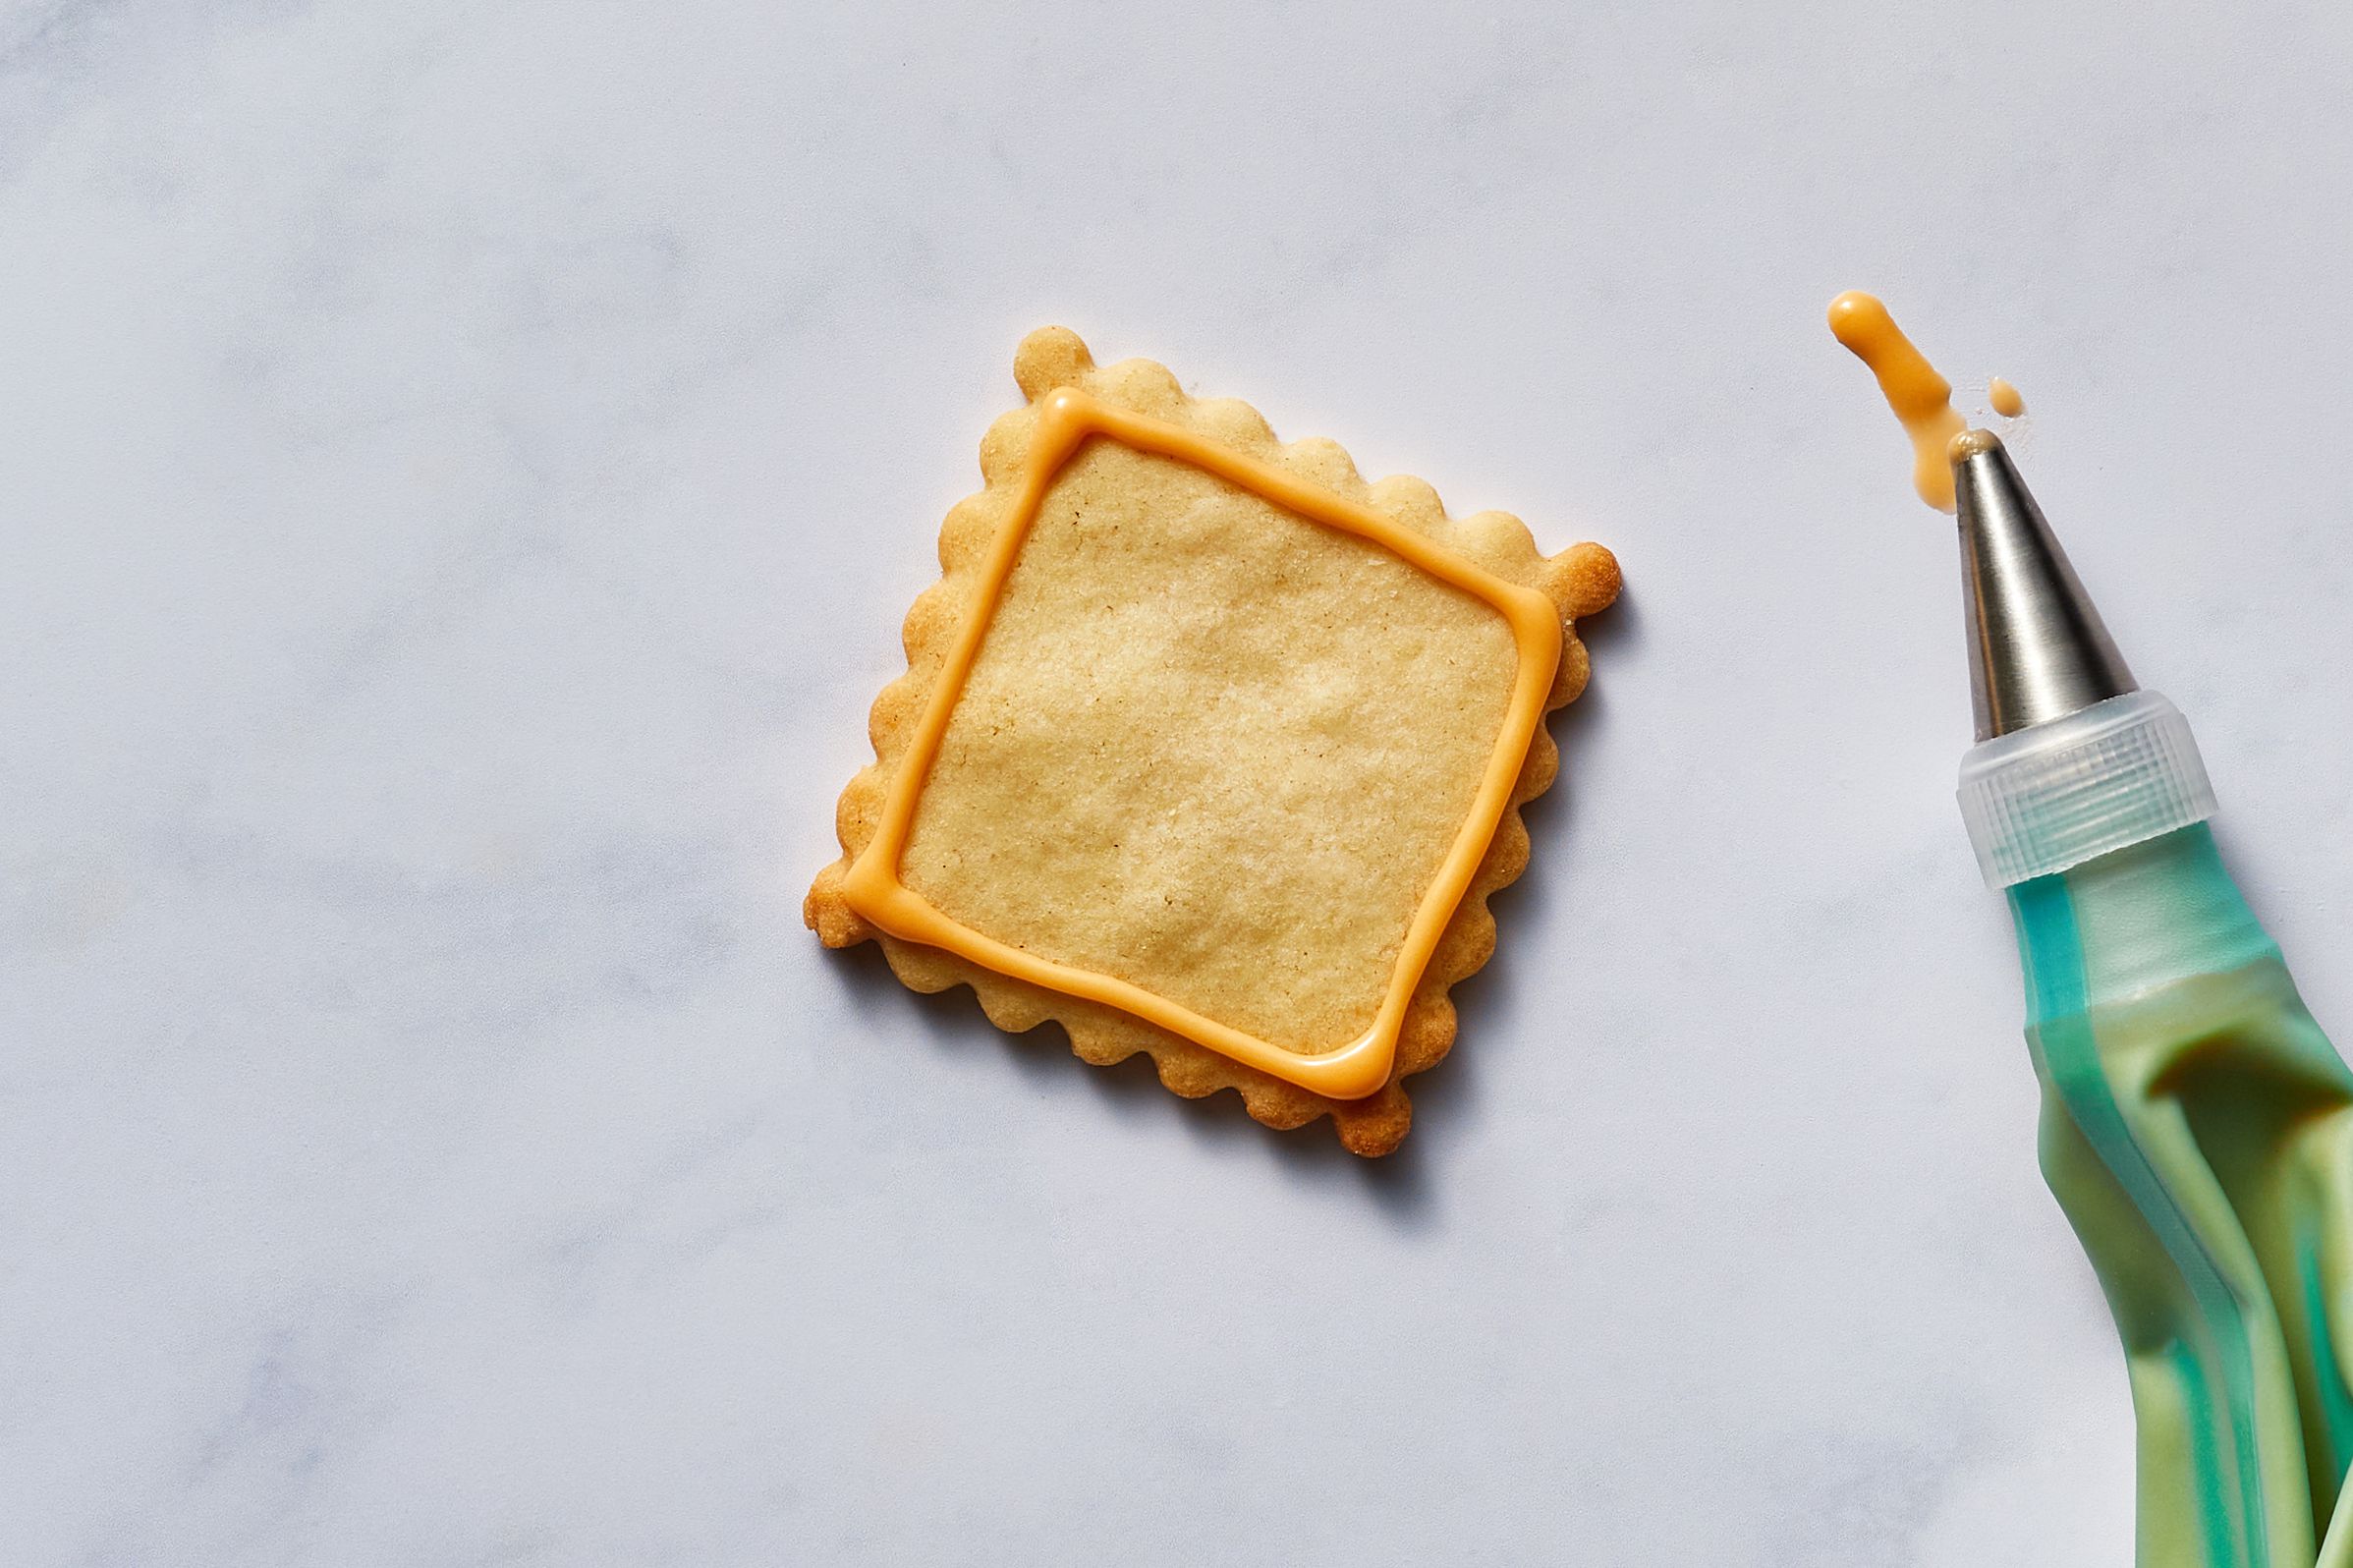
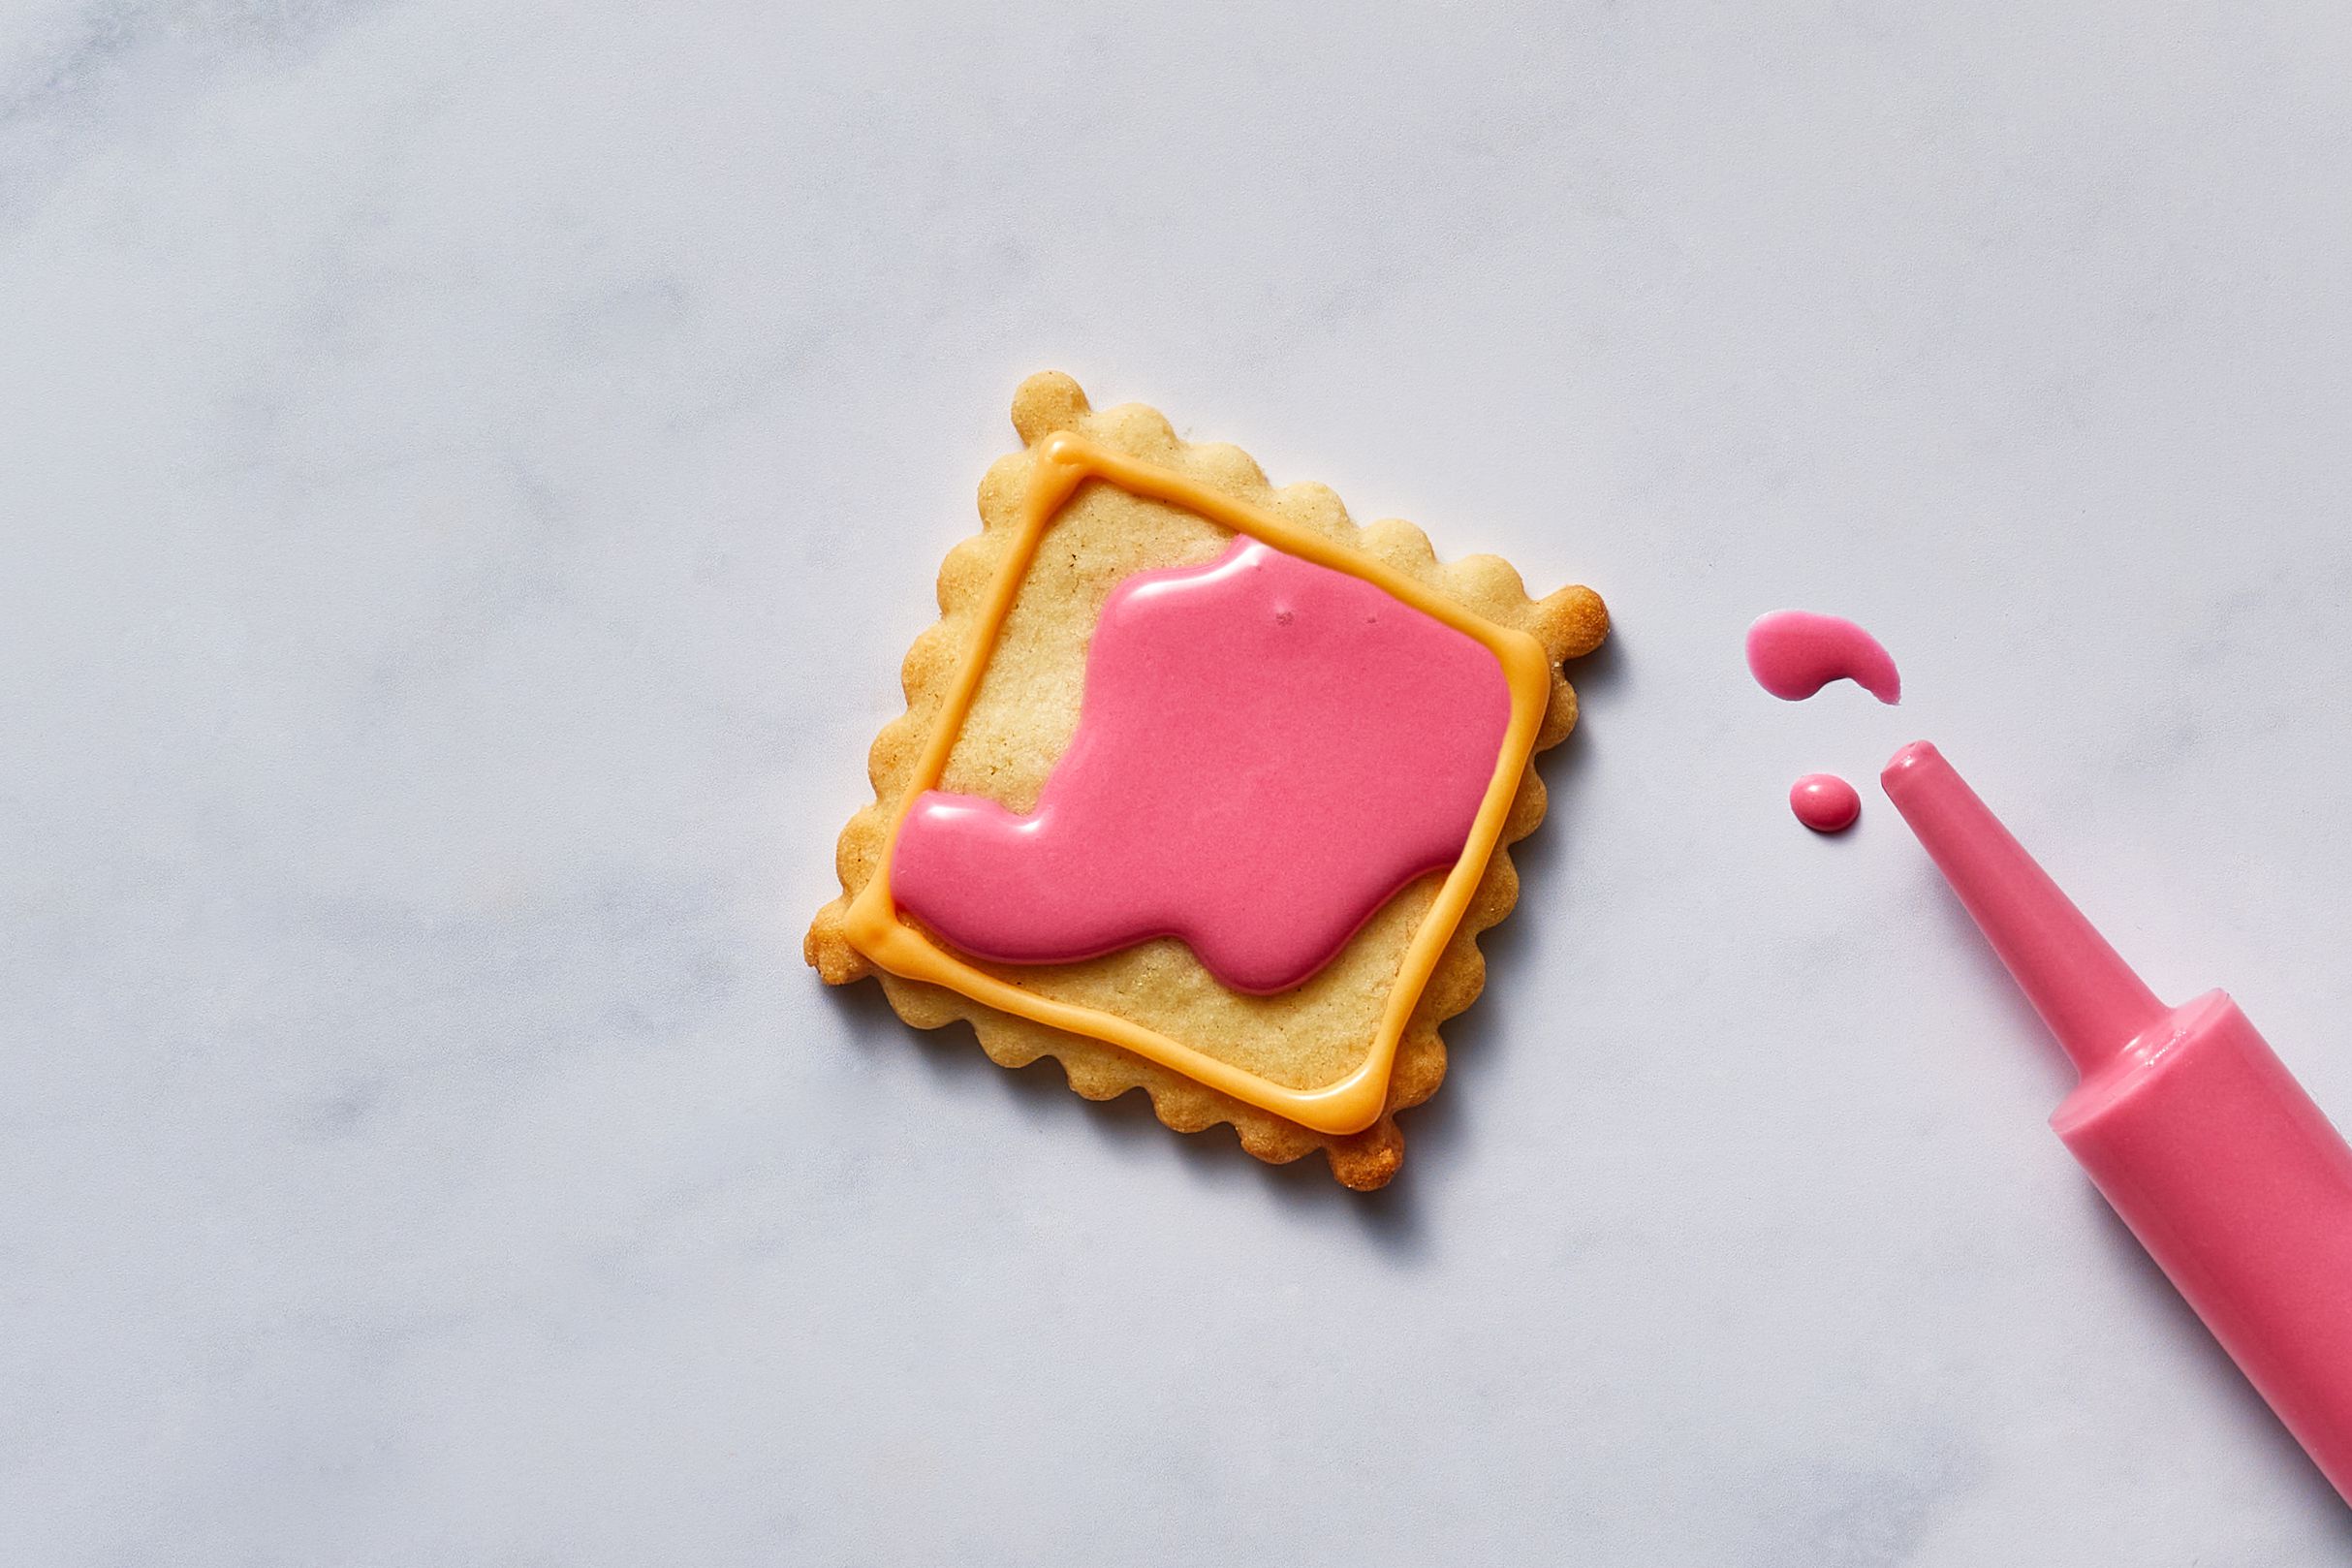
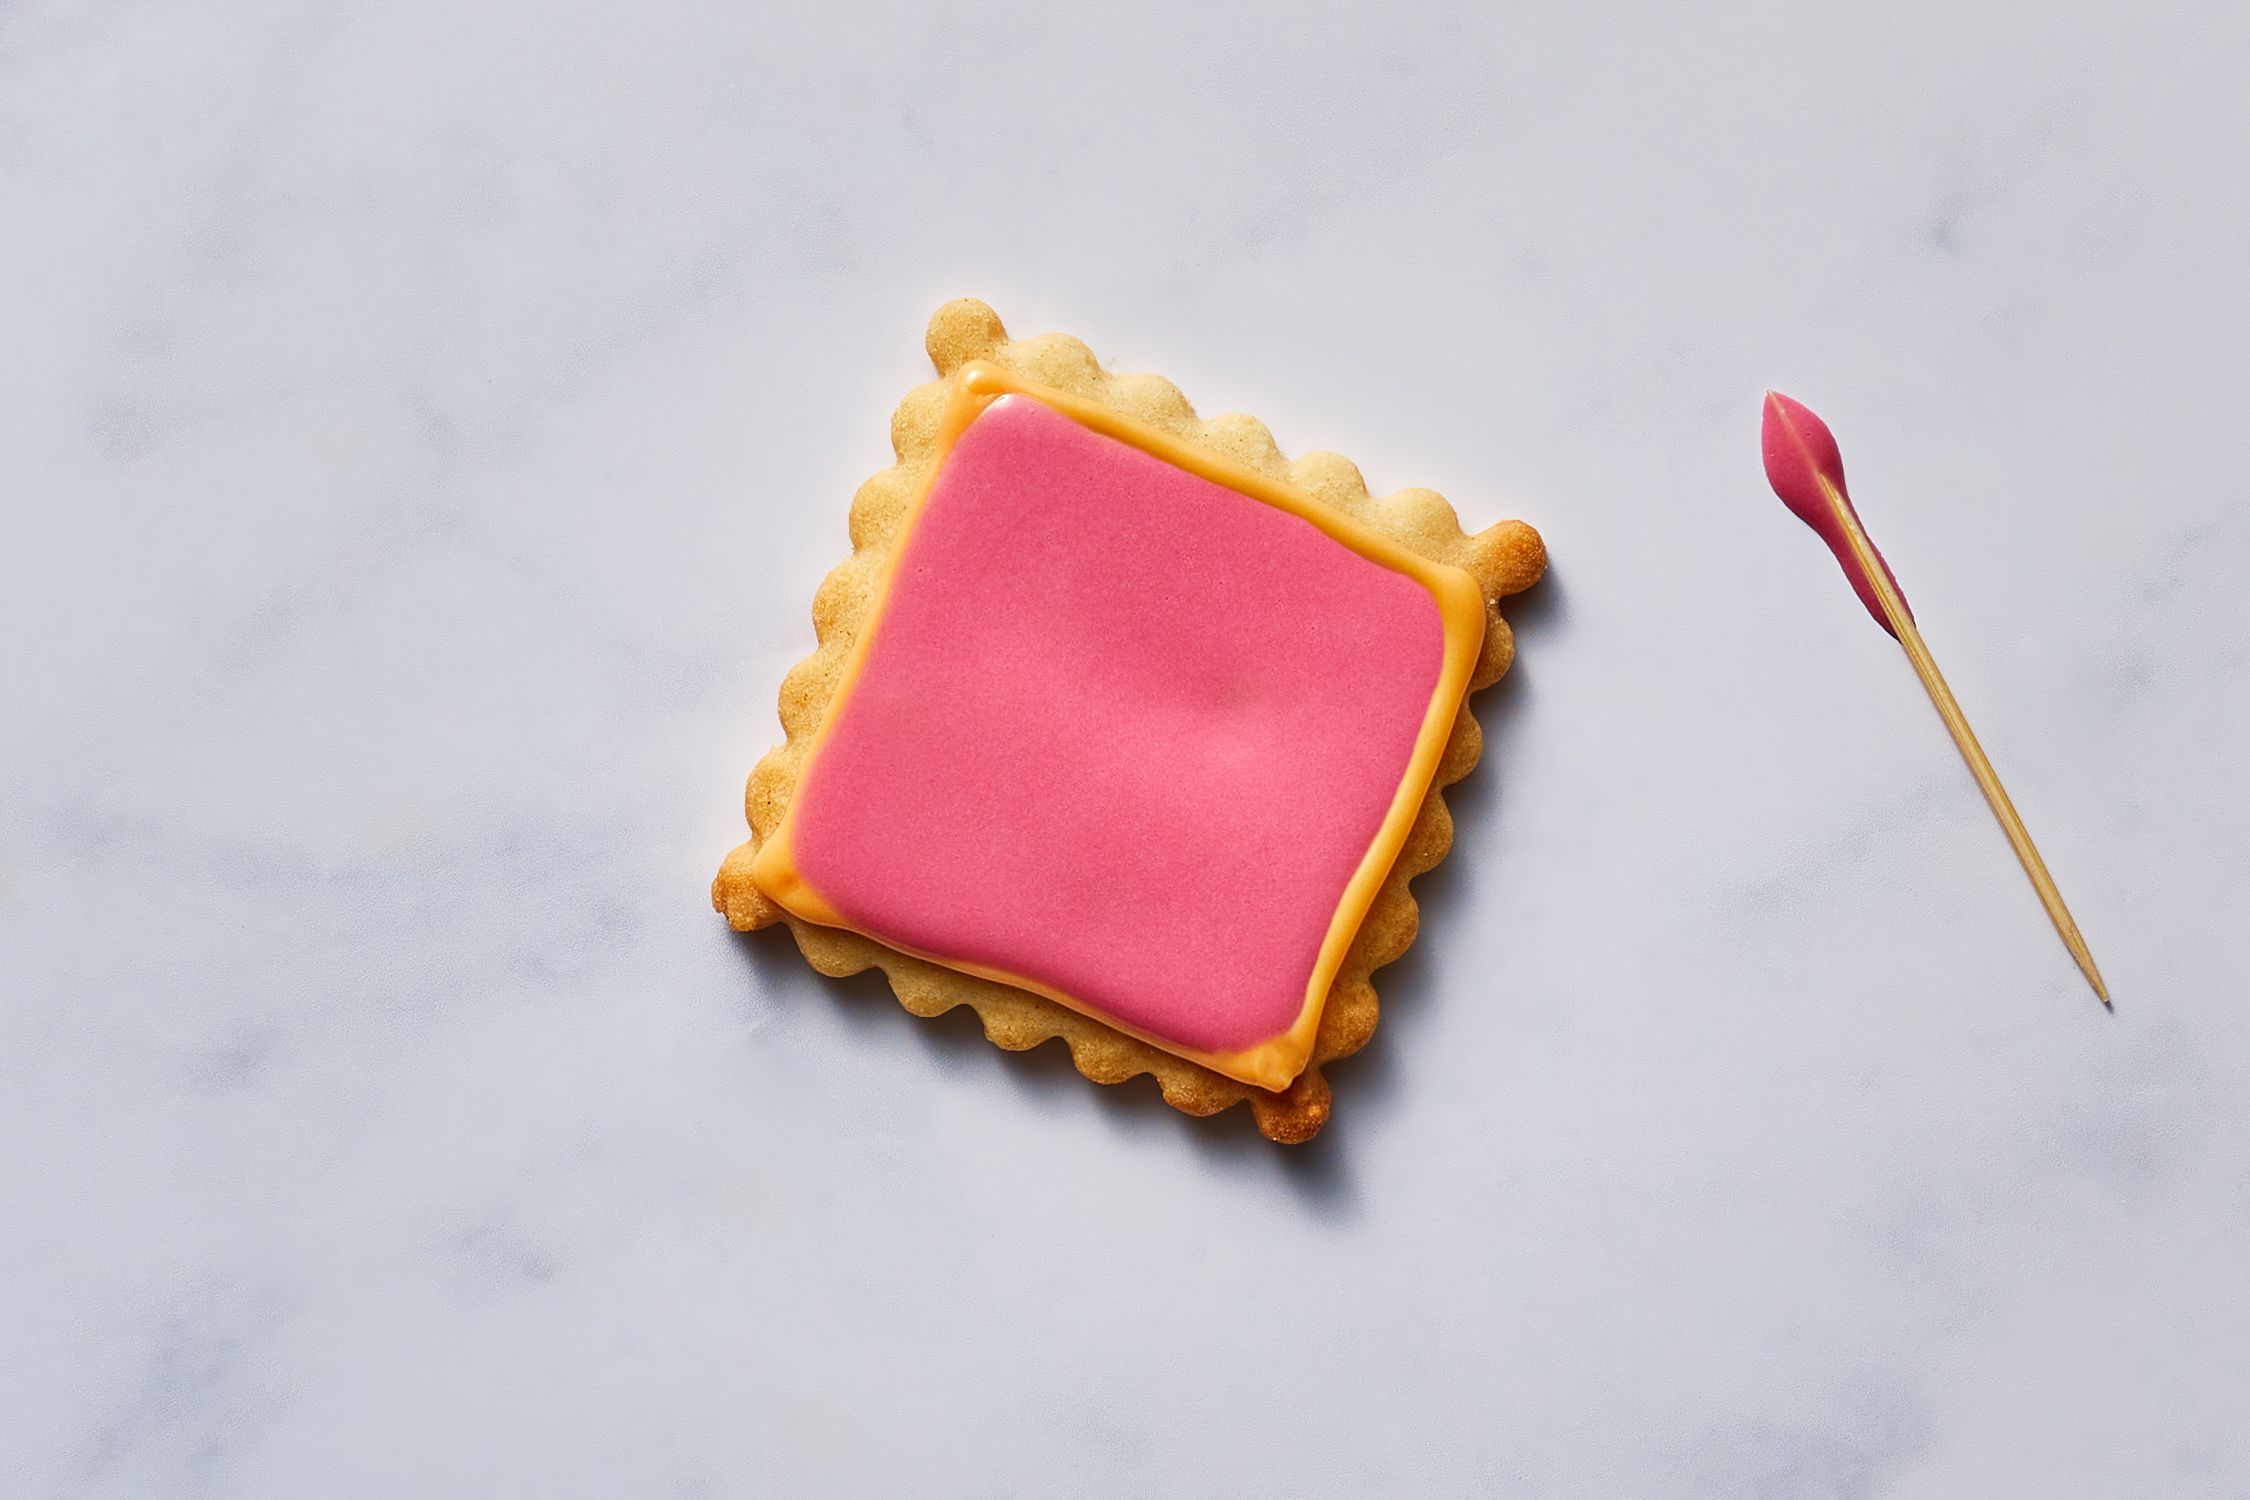
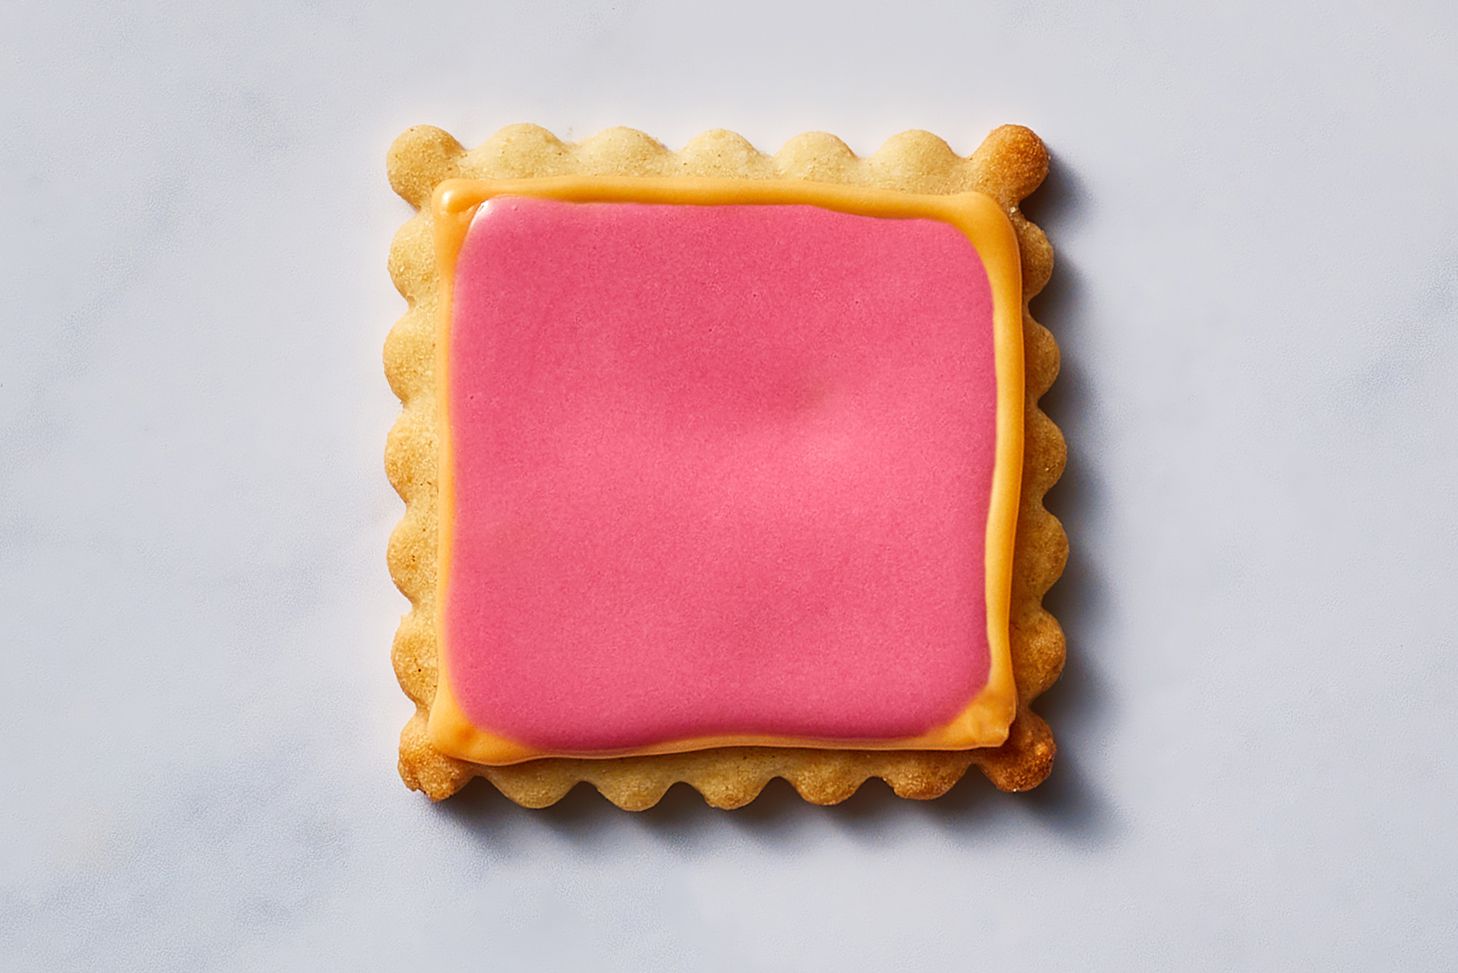
| | | | | | | | | | 1. In the bowl of a stand mixer fitted with the whip attachment, beat the egg whites on high speed until foamy. You can also use a hand mixer. | | | | | | 2. Switch to low speed and gradually sift the sugar into the egg whites until it's completely incorporated. Because both ingredients are white, it's easy to miss lumps. Look carefully. | | | | | | 3. Add the lemon juice and beat on high speed until the icing is very thick and forms stiff peaks, about 5 to 10 minutes. | | | | | | 4. At this point, you can add the food coloring if you're only going to need a full batch of one color. If you need more than one color, separate quantities of icing into individual bowls and just stir in the coloring you want. | | | | | | 5. Use the royal icing to decorate your cookies. Enjoy. | | | | | | | | | | Let's Make Some Cookie Art | | | 1. Use the thicker icing to create an edge along the cookie*. Make sure the edge is one complete line that connects the entire rim of the cookie; otherwise the thinner icing will spill through the edge, giving a new meaning to "flooding" cookies. | | | | | | 2. Grab the thinner flooding icing and drizzle the icing all over the inside of the cookie. Since it's thinner, it will spread to fill most of the cookie. Try to squeeze the frosting as close to the thicker edge as possible without squeezing too much, so it won't spill over. | | | | | | 3. For the sections that the frosting did not fill, use a toothpick to spread the frosting and evenly disperse the icing to cover the bare patches. You can also use the toothpick to pop any small bubbles that might form on the surface of the icing. If you are looking to add sprinkles or candy pearls, now is a good time to add them. This will ensure that they will stick to the icing, creating a better bond so that the sprinkles and/or candy pearls don't fall off later. | | | | | | 4. Allow the cookies to dry completely so that the icing can harden. (This may take up to 24 hours, depending on how thin the inner icing came out). Once the icing has dried, you can add additional designs with the thicker icing. Since the frosting has completely hardened, the thicker designs will sit on top of the cookie and will not bleed or spread. | | | | | | *Tip for success: Holding the tip of the piping bag about 1/2 inch above the cookie as you gently squeeze icing out will help give you more control of the shape. | | | | | | | More Cookie Recipes to Try | | | | | | | | | | | The Spruce Eats on YouTube | | | | | | | | | This Week's Baking Essentials | | | | | |
| | | | | | Follow us:      | | You are receiving this newsletter because you subscribed to Cooking School by The Spruce Eats newsletter. Unsubscribe | | © 2021 Dotdash.com — All rights reserved. Privacy Policy. | | A DOTDASH BRAND | 28 Liberty Street, 7th Floor, New York, NY, 10005 | | | | | | |


ไม่มีความคิดเห็น:
แสดงความคิดเห็น